


Oracle Enterprise Linux OEL 7.6 Installation
How to Set up Oracle Database Server on VMware Workstation using( OEL) Linux 7.6 OS Platform?
1.Download Vmware Workstation Pro
2.Download LINUX 7.6 iso files
3.install LINUX 7.6
1.Download and Install latest Vmware Workstation Pro on Windows 10 Machine.

LOCATION:

LINK:
https://www.vmware.com/in/products/workstation-pro/workstation-pro-evaluation.html
2.Download (OEL) Oracle linux 7.6 iso Image files on your windows 10 Machine..
Go to Google Chrome

Go to edelivery.oracle.com
click on sign in

Login with your credentials

Search with oracle linux

Go to oracle Linux 7.6 (Oracle Linux)
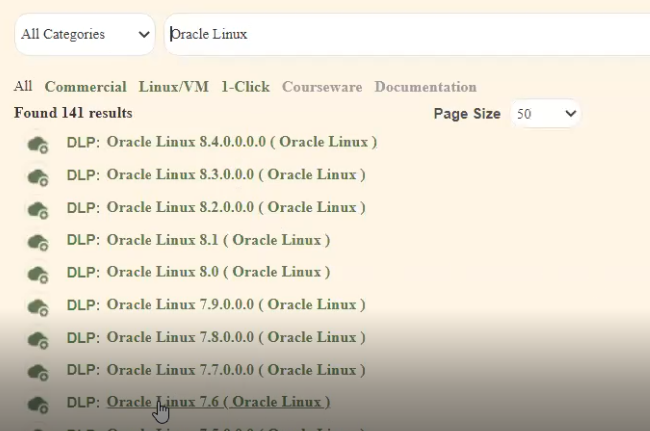
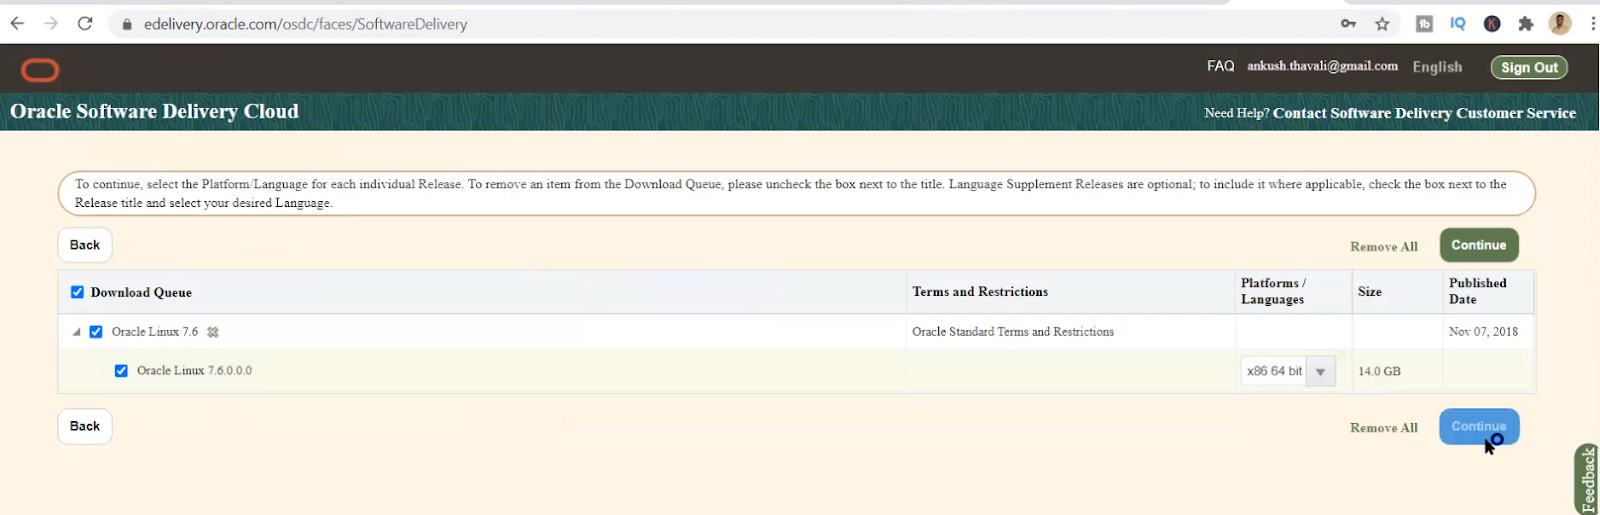
It is Added to the cart then click on continue

Search for *86 64 bit operating system

The size show be around 14.0 GB
Click on continue
Accept the license agreement
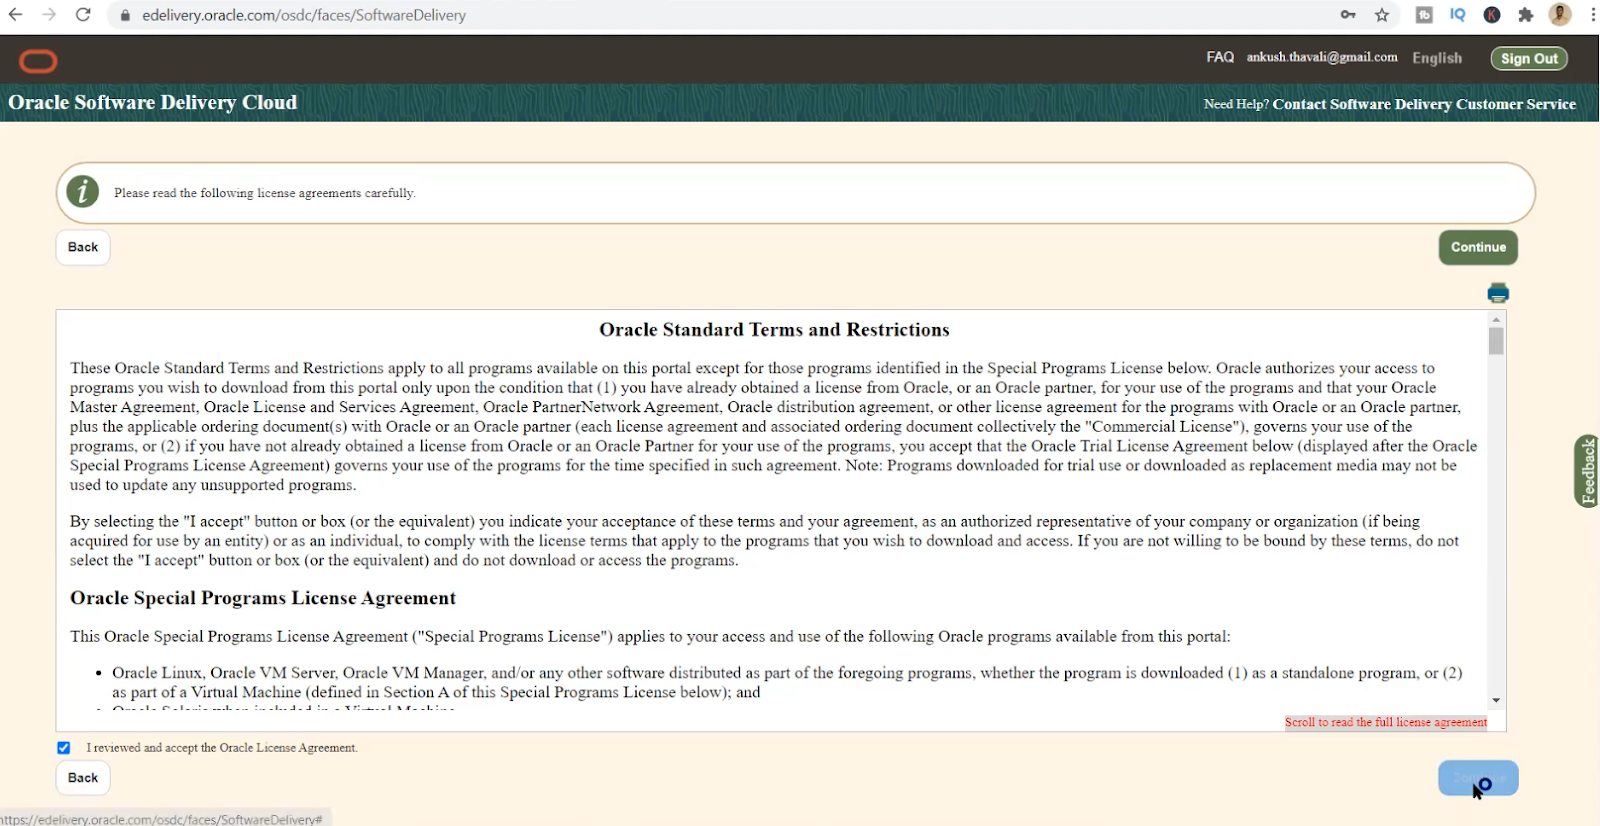
Close the feedback form
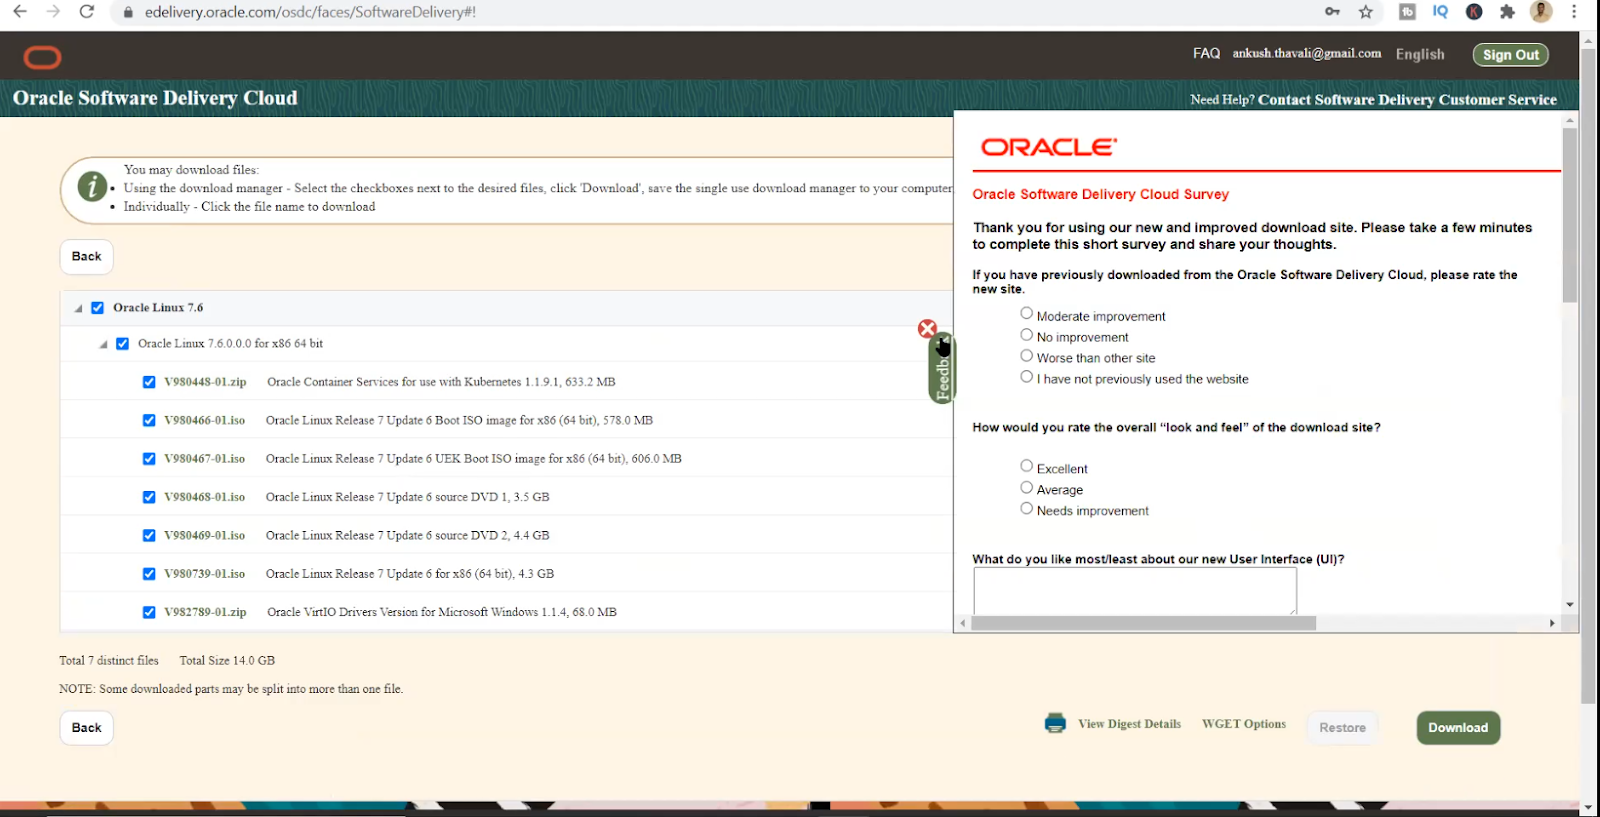
Click on download
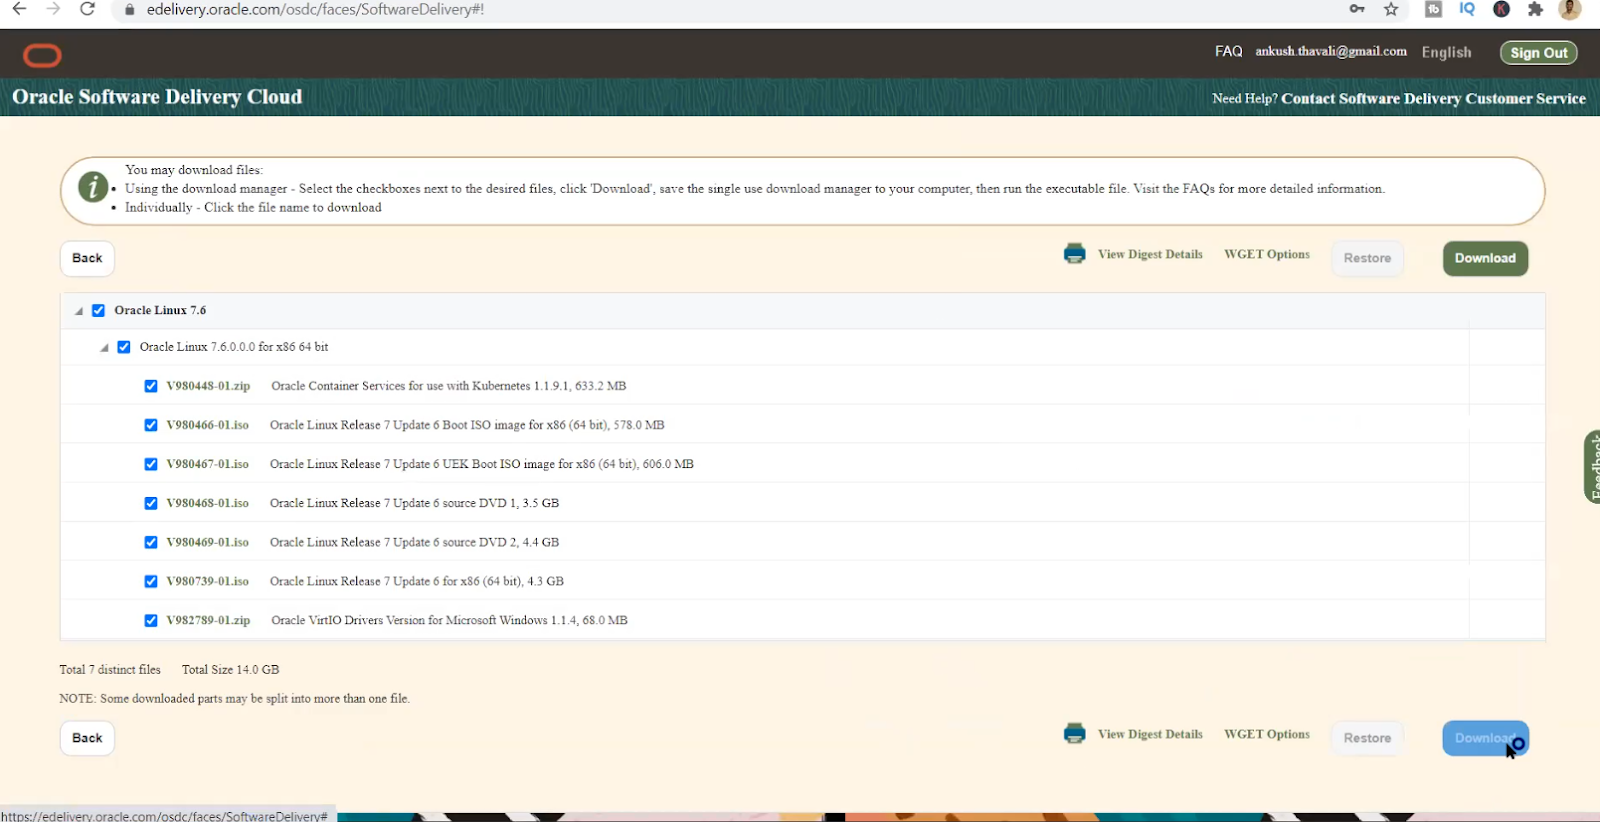
once you click on download it will start a software just double click on it
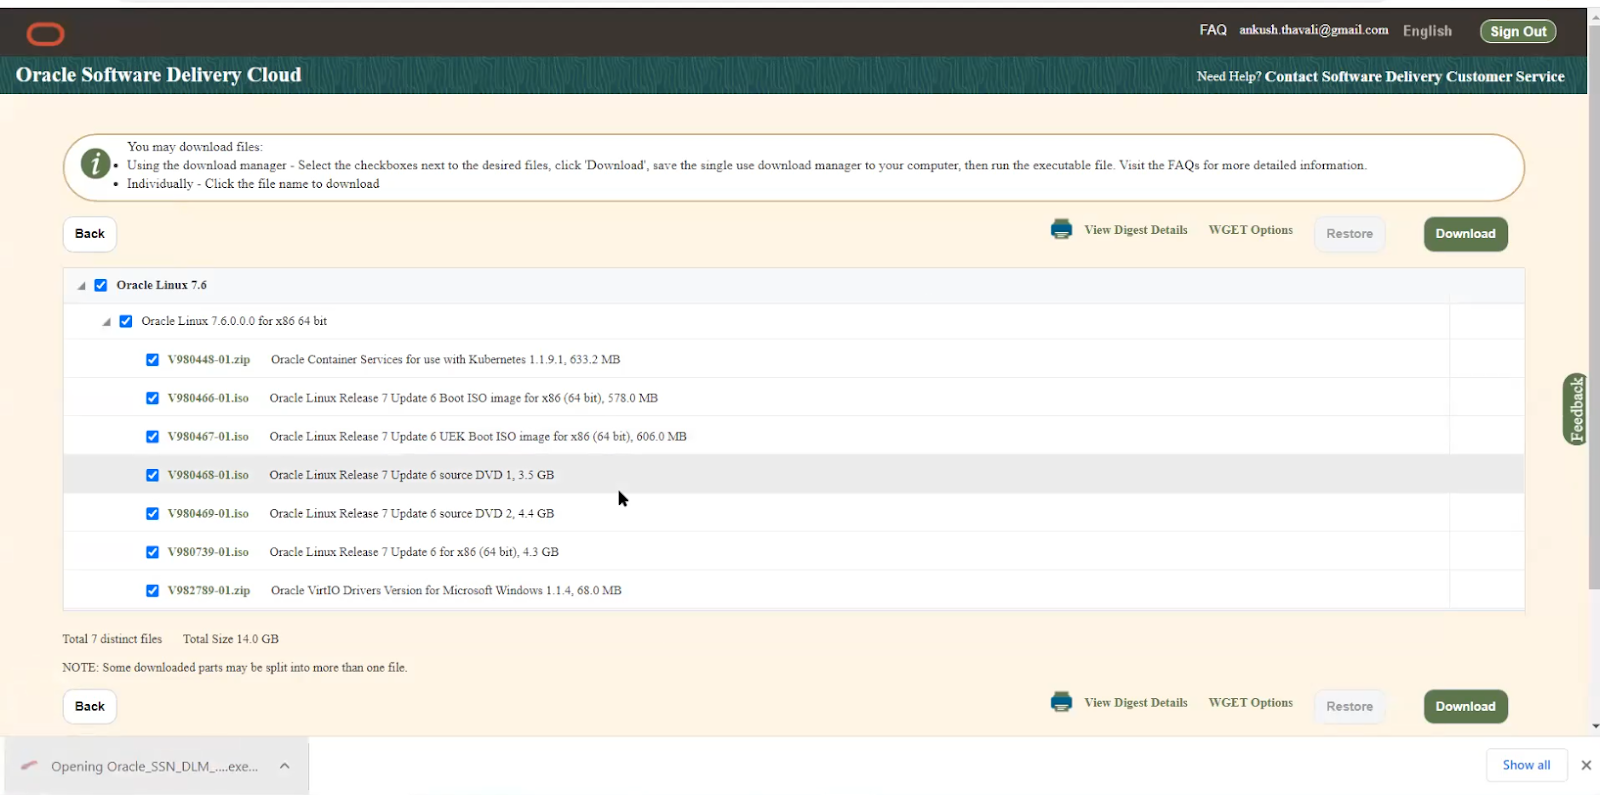
It will help you to track how much download has been completed where this download will go etc……
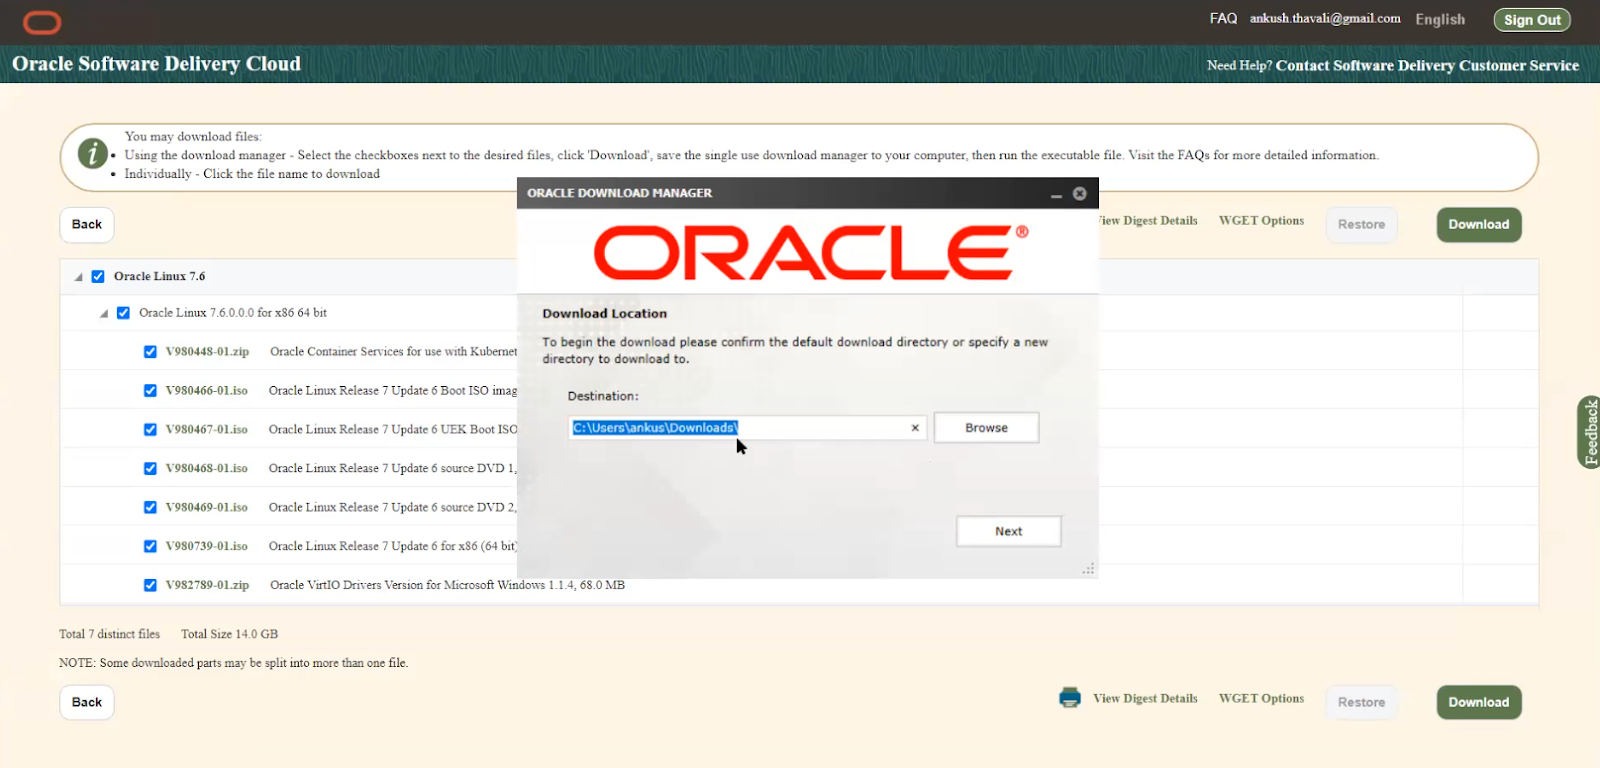
Its a good idea not to push all 14 GB software into Drive C:\download folder instead find a drive where there is sufficient space to download it .
right click Create Folder OEL7.6 maybe in your E drive wherever you have sufficient space available. This is the location where all OEL 7.6 ISO files are Going. While we are doing OEL installation 100 GB is rquired.you do have to click on next next and it will start downloading you need to have very good internet speed again it should not break. if your download fails, so it will not fail for all of the files.
So let’s say these two ISO file has been downloaded successfully. So you can just select next one and start downloading or select one by one and start downloading if you don’t have good internet speed.
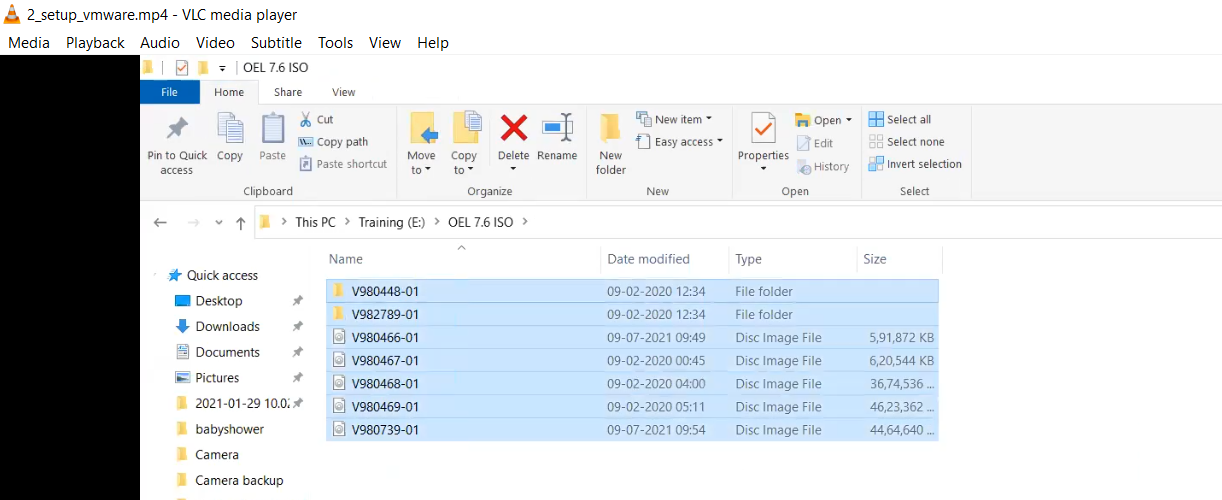
Once it is done you will see all the ISO file . if we go to, OEL 7.6 ISO folder files will looks like this.
3.OEL 7.6 Installation (oracle Enterprise Linux installation):
Now we’ll start with the installation
Open the VMware Workstation

click on file new virtual Machine
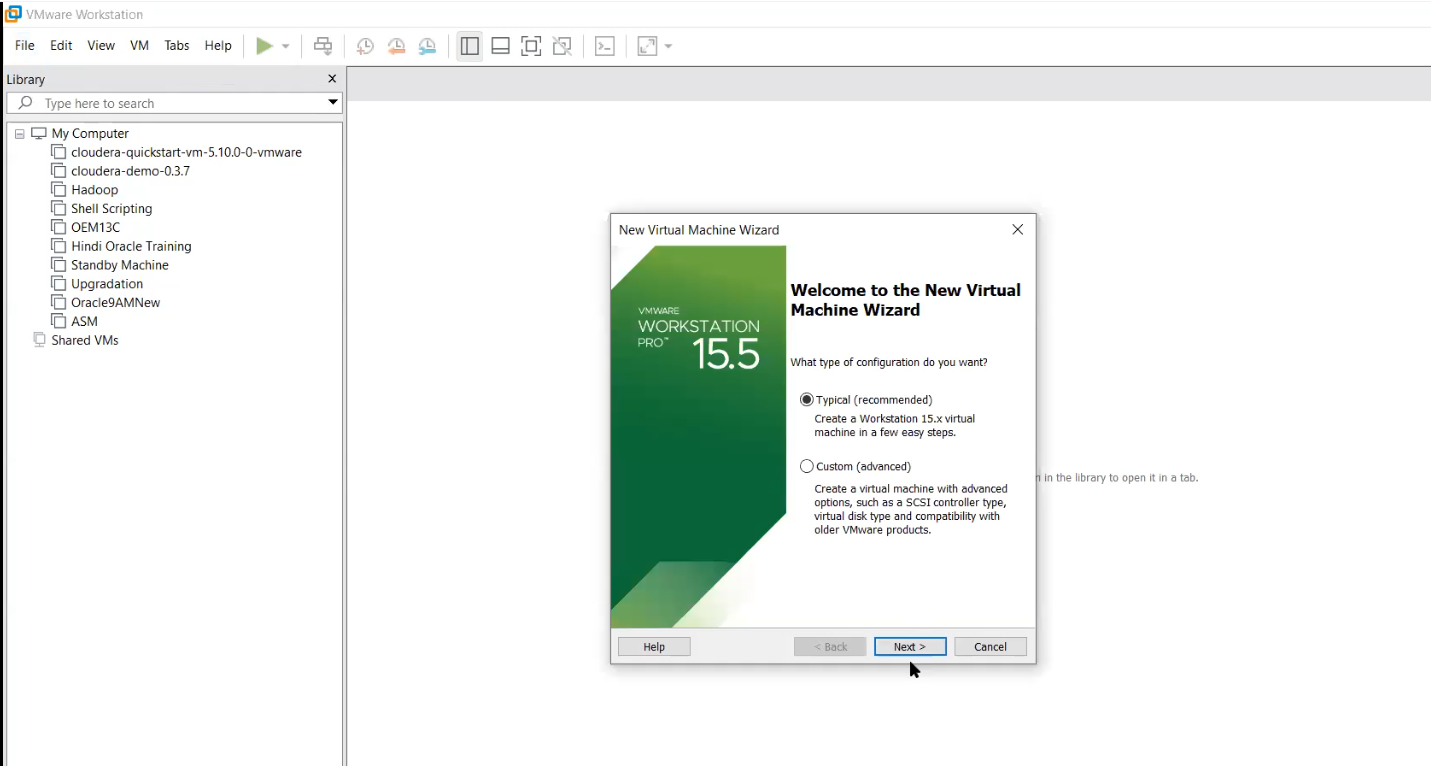
Click on typical installation and click next
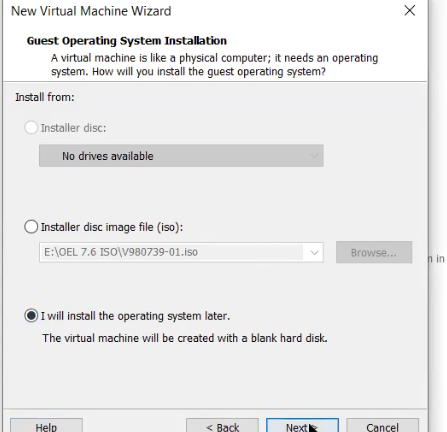
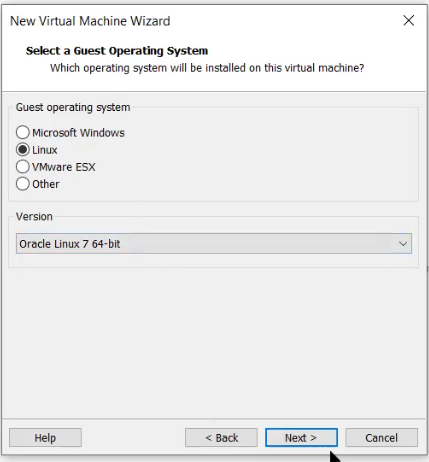
Click on third option i will install operating system later as we are going to attach our iso files later
click on Linux operating system and version as oracle linux 7 64-bit
Give a proper name to your virtual machine here i gave it as a weekend Batch and give a location where all our VMvare files going to reside you should at least have 100GB of space .Here I use E:\ Drive \weekend Batch folder.
Click on Next

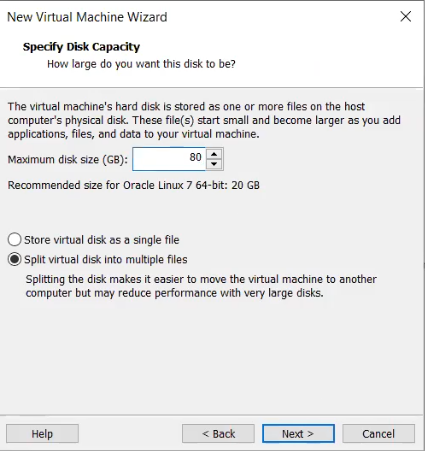
Next we have to specify Disk Capacity here we have given 80 GB of space which we will later split it into multiple mount points
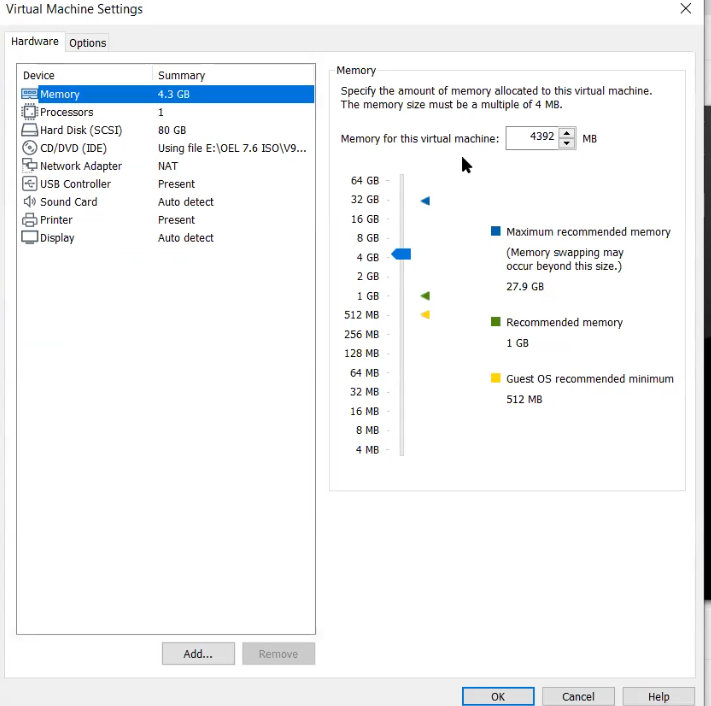
click on customize hardware
click on 4GB of memory
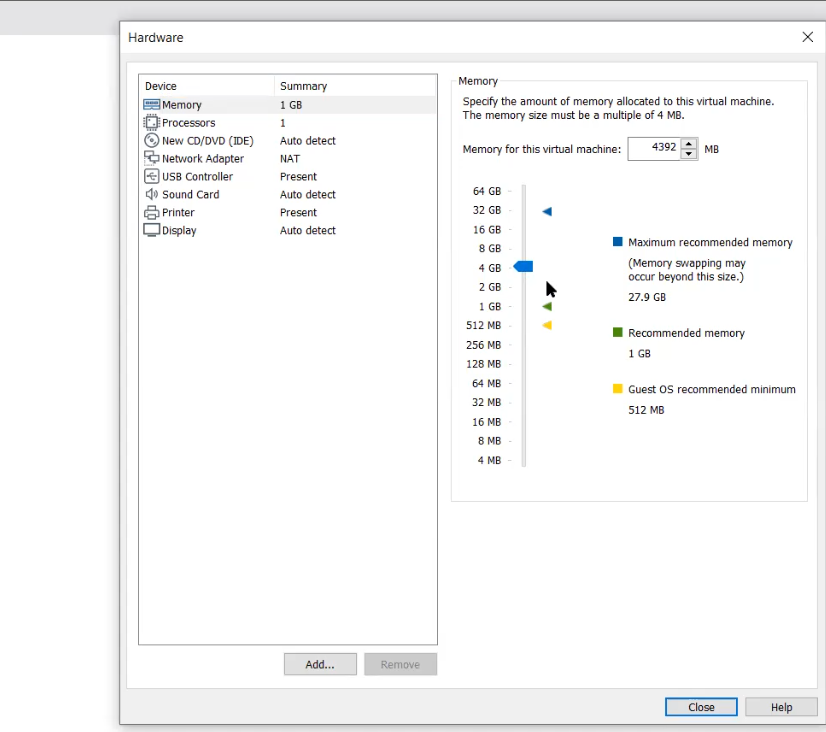
Click on Number of processors as 1
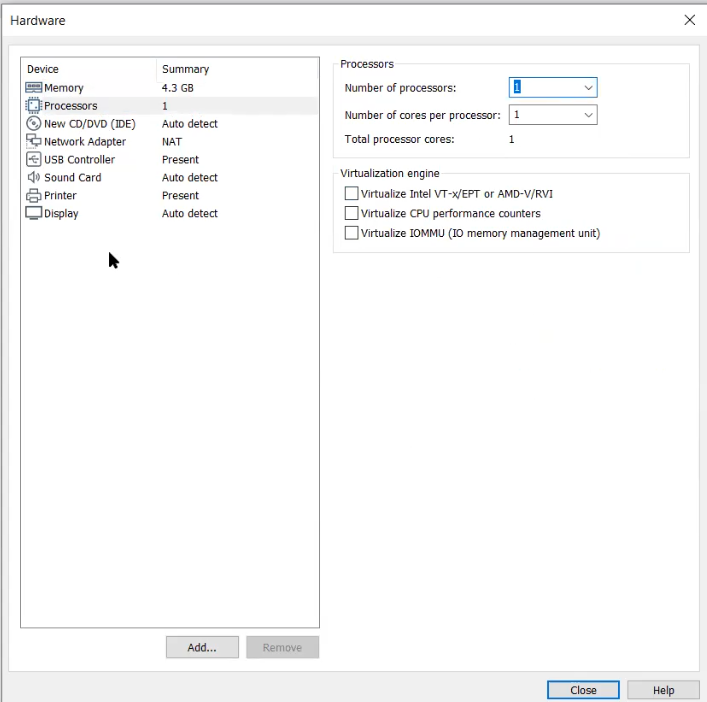
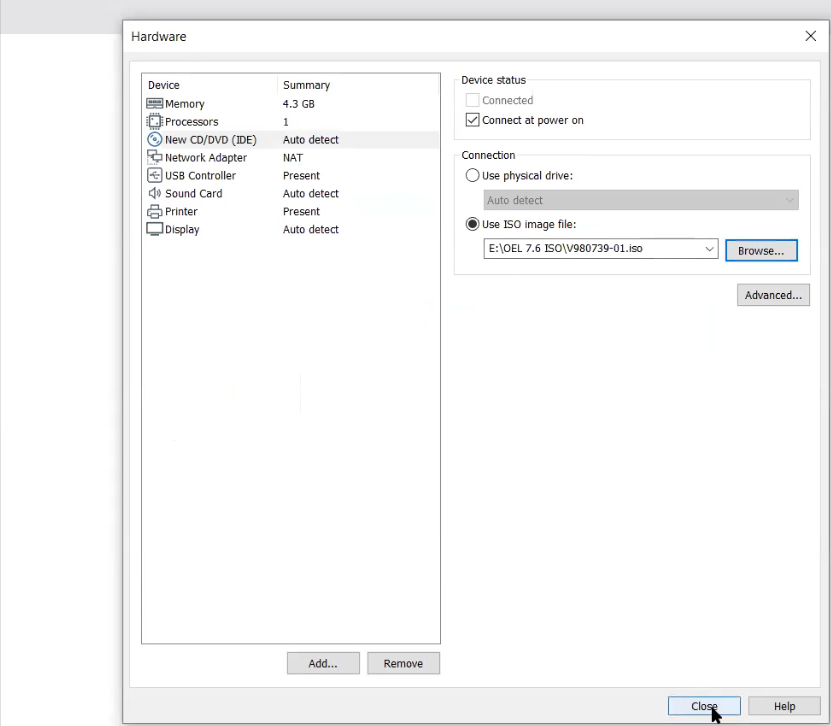
click on New CD/DVD
use ISO image file
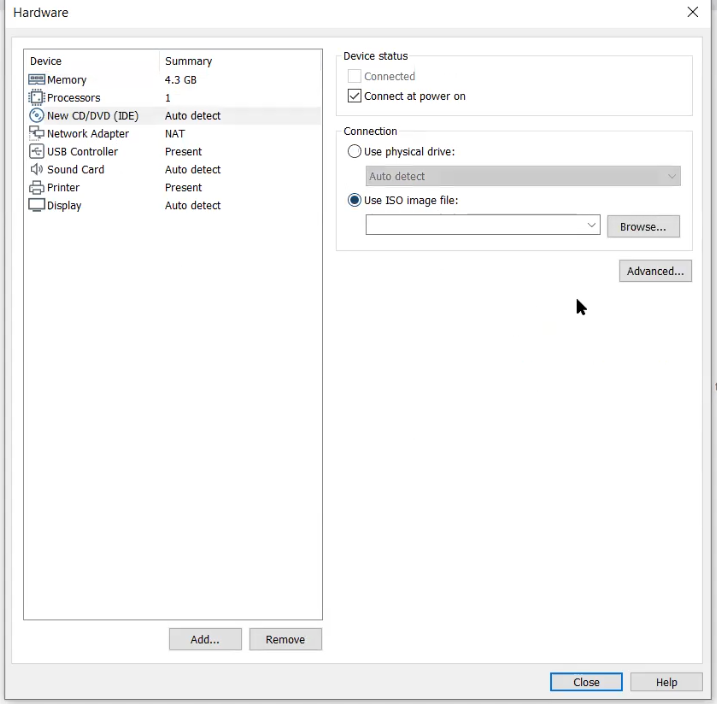
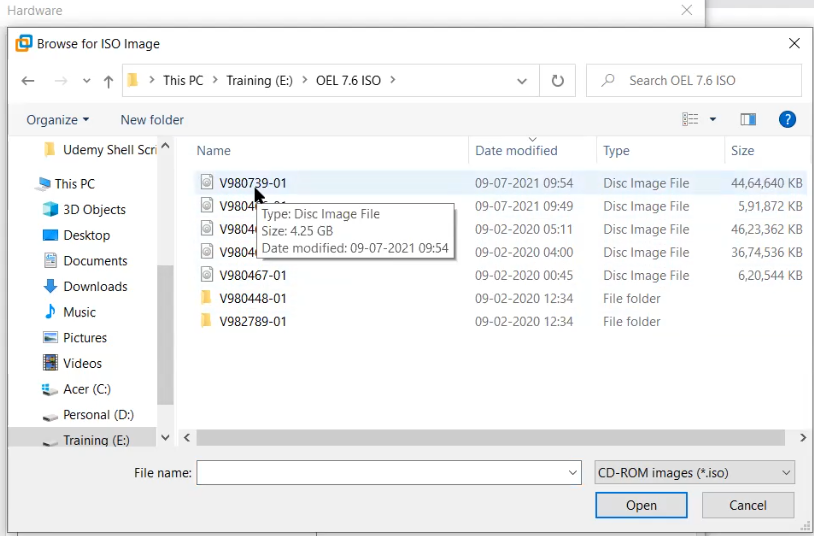
Click on browse go to folder OEL 7.6 where our iso files are saved
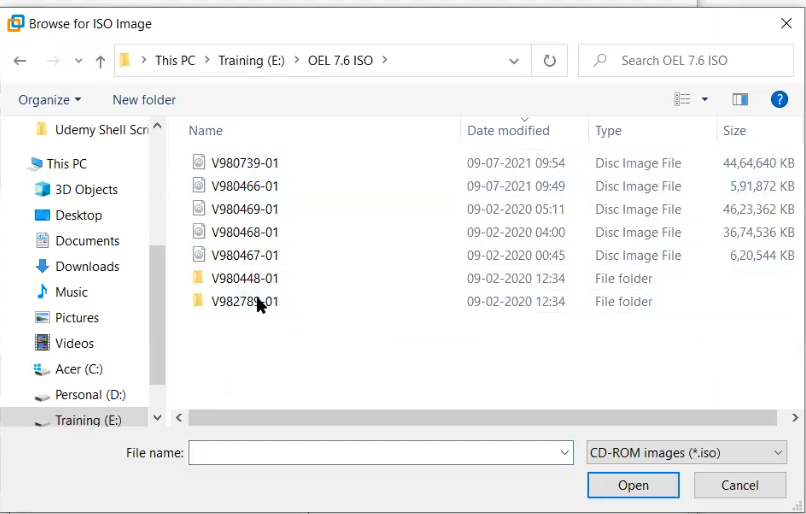
select File which is ending with 739-01( i.e V980739-01) as its a good image file .however we need to have all other image files in place as they will communicate with each other internally .
Click on close
click finish
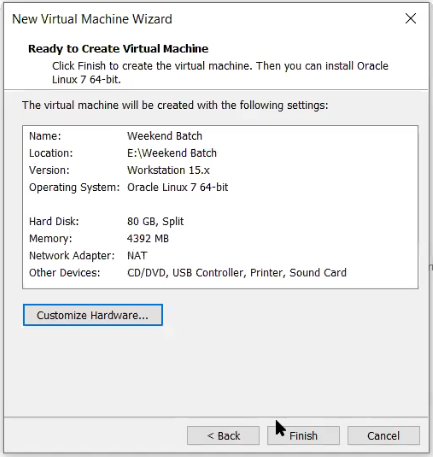
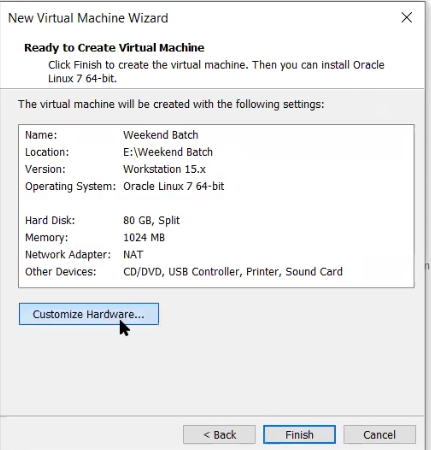
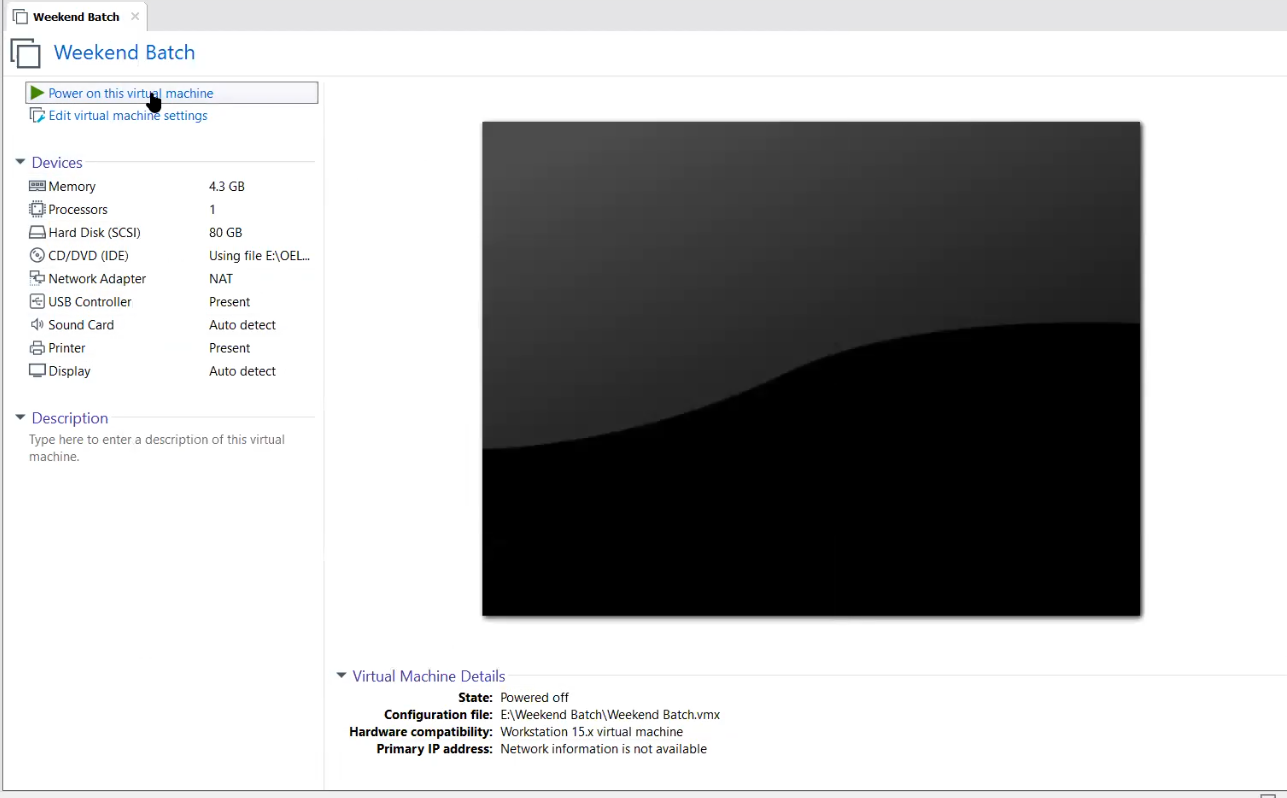
Now we got this pop up
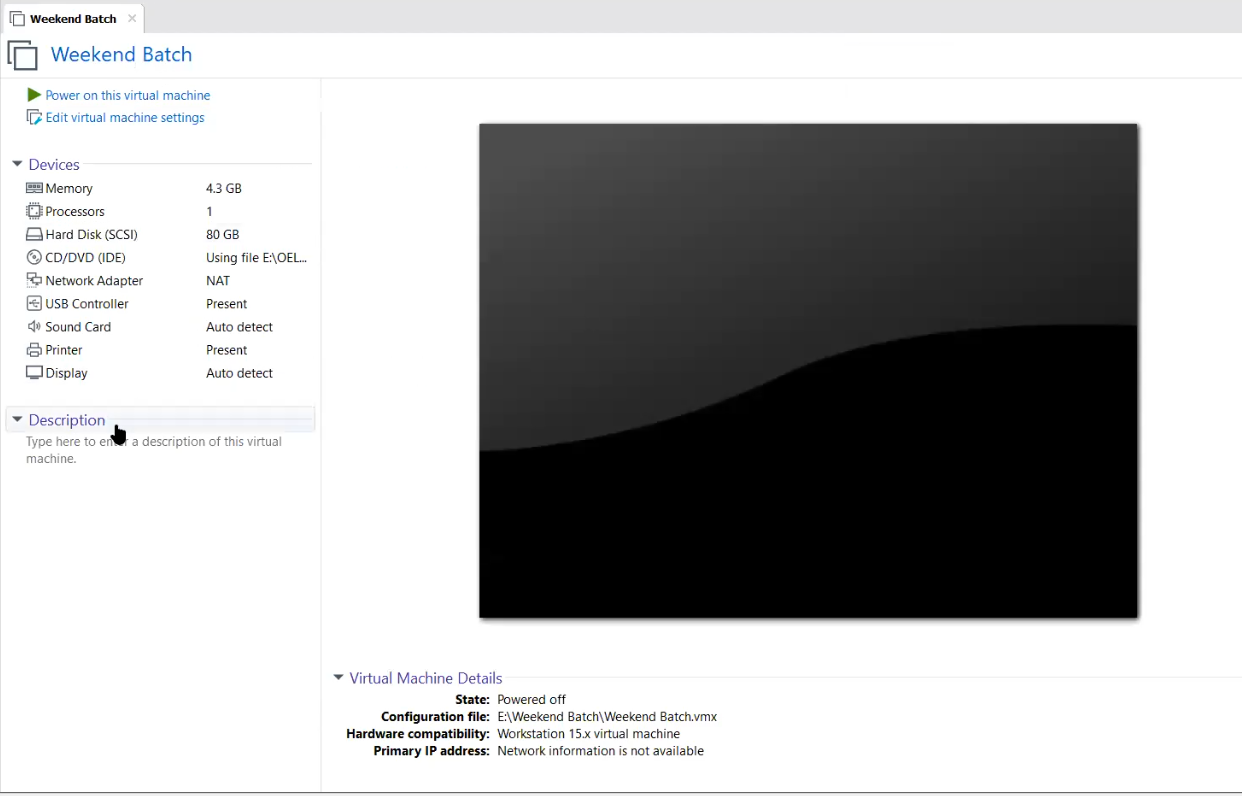
We can make any changes in our configuration by clicking on Edit virtual machine settings.
Can edit memory ,processors etc…
Next click on power on this Virtual Machine
Now it has started oracle Linux server installation
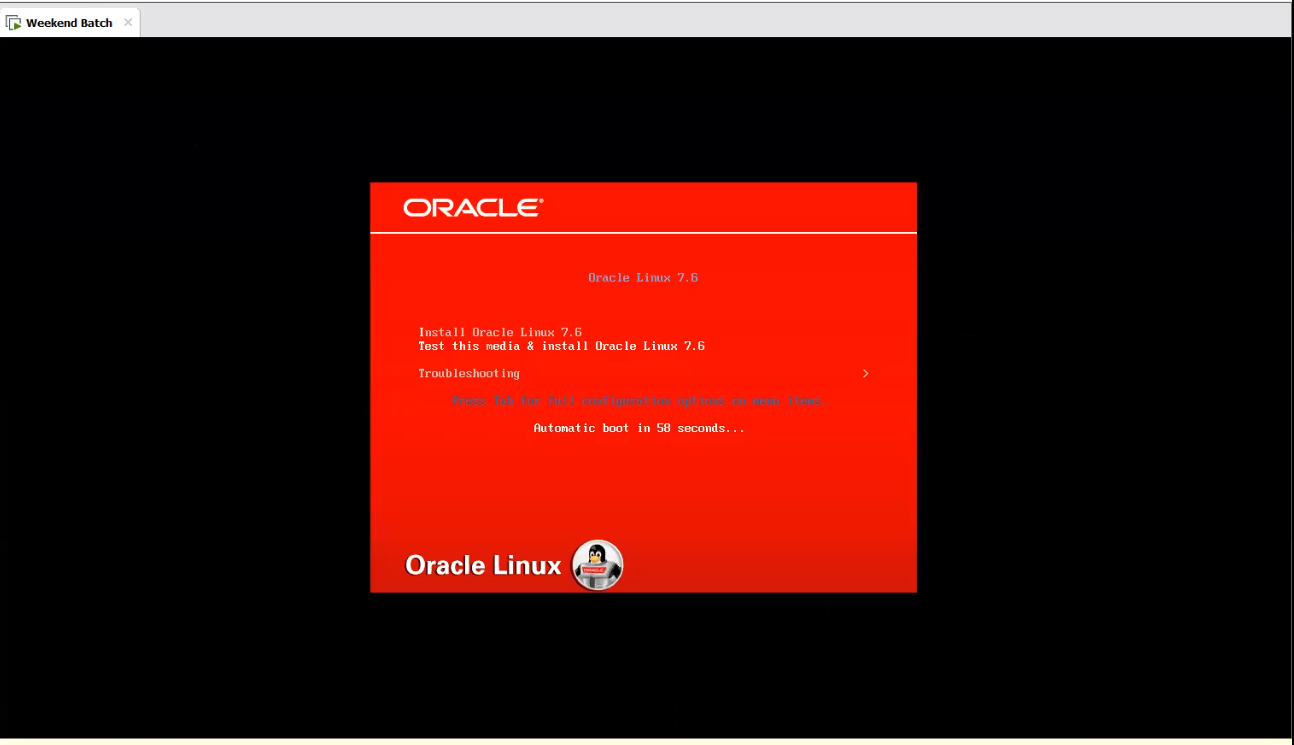
Now our Mouse will not work we can do scrolling with the help of keyboard keys and select Install Oracle Linux 7.6
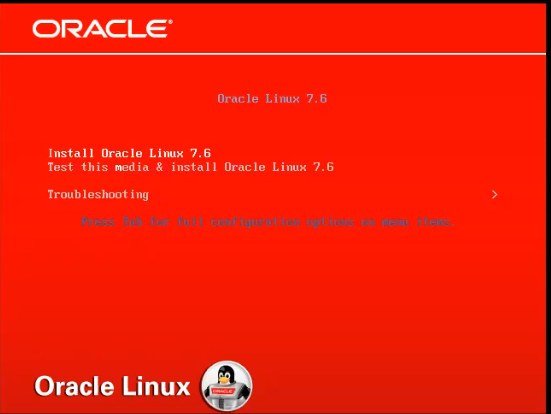
click enter twice installation starts

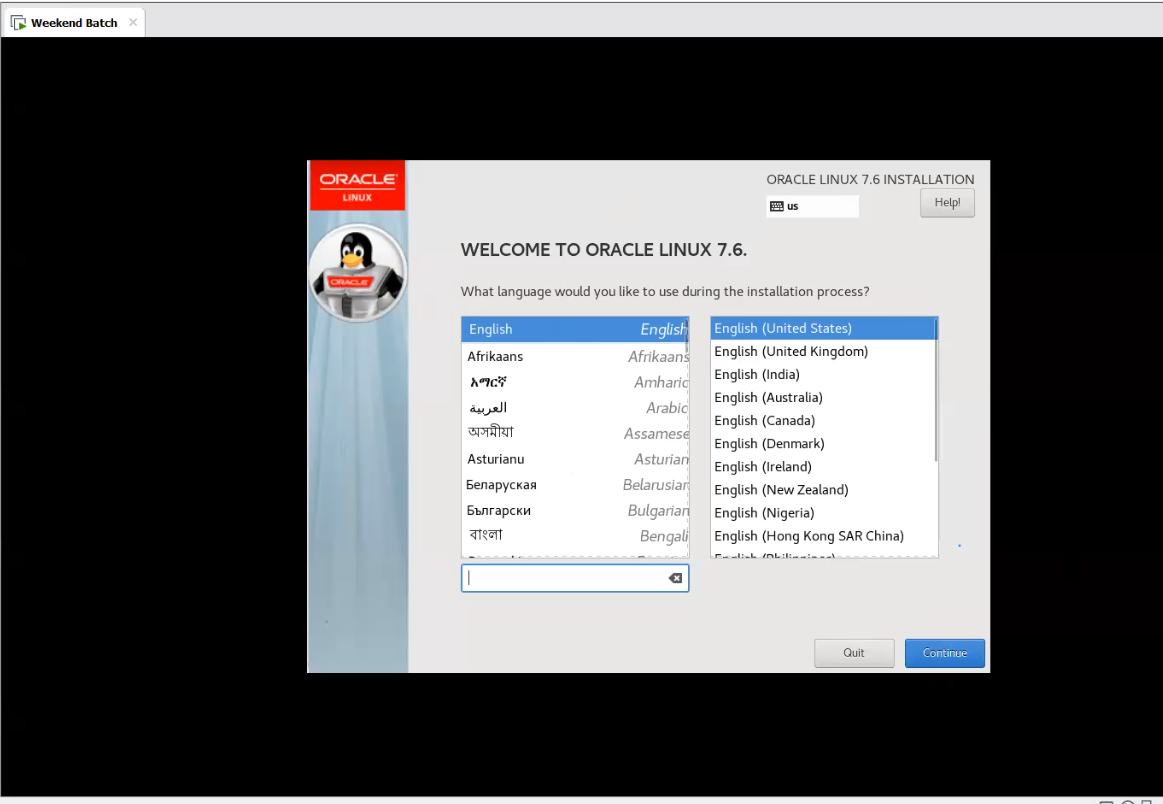
Next Select english and click continue
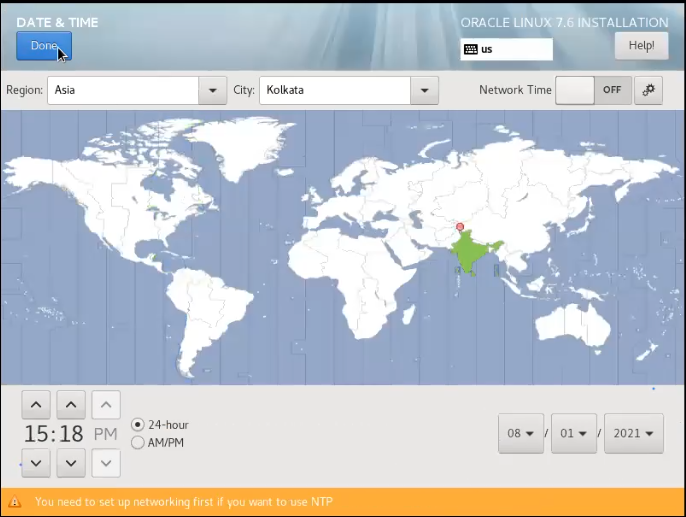
Next choose first option date and time .we can choose data and time as per our time zone
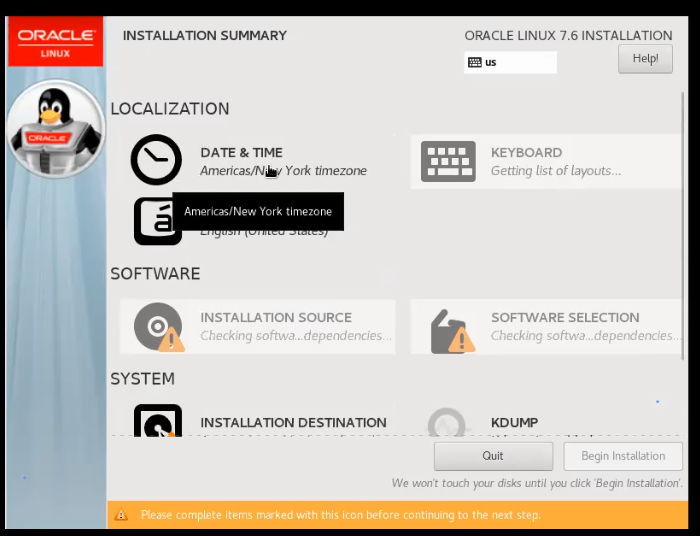
Here i choose india and click done
Next option is software installation source which is where is our iso files which we have already done

Next is software Selection click on it

Click on server with GUI and click done

Just wait for a minute so that os takes the new changes

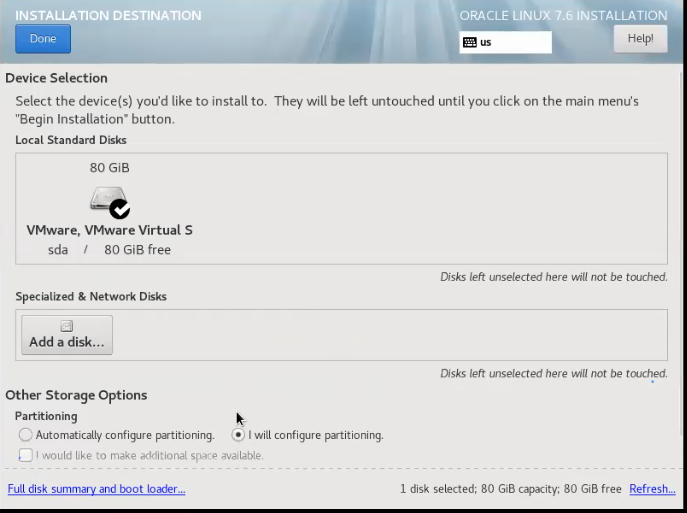
Next click on Installation Destination
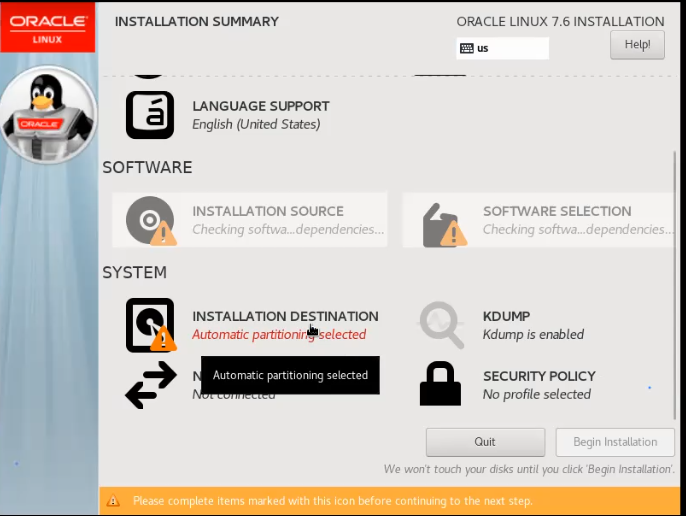
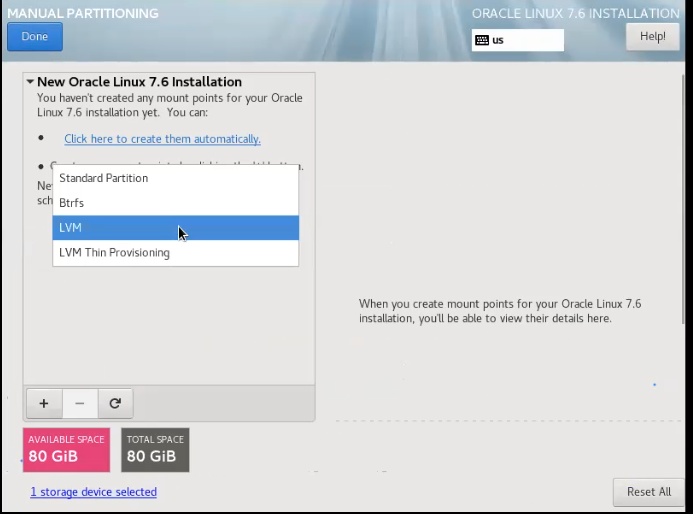
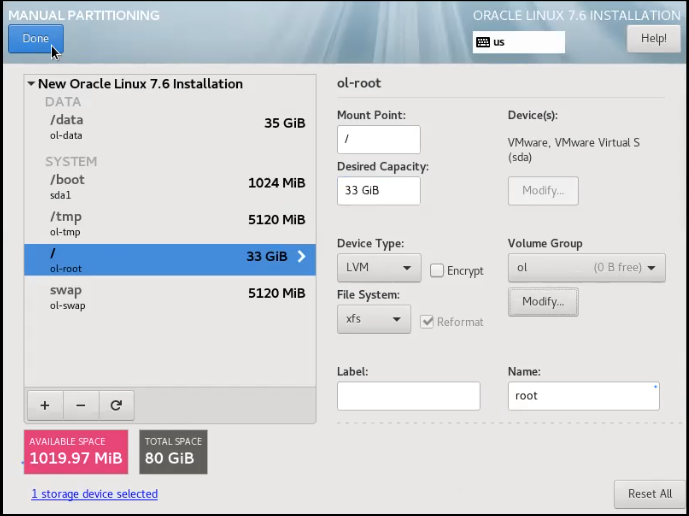
Now we are going to partition the 80 GB which we have allocated click on i will configure partitioning and then click on done
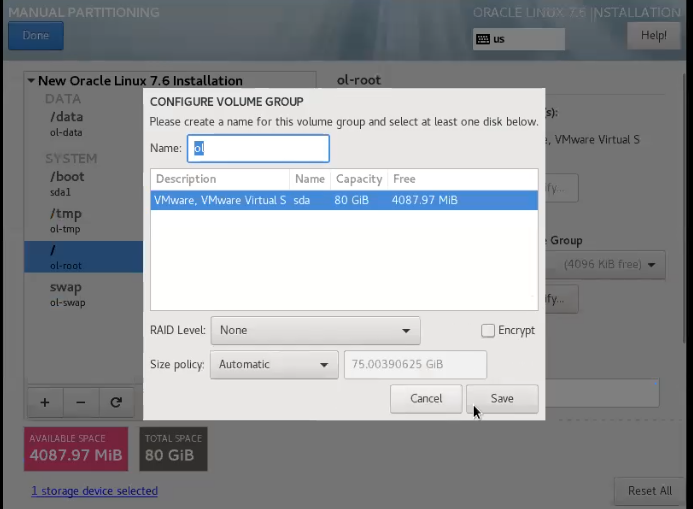
Next we will go with the LVM partitioning software
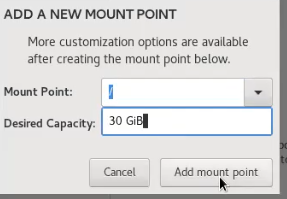
Next click on plus sign (+) first partitioning will be root partition let’s give 30 GiB and click add mount point
Next click on plus sign (+) second partition is /data of 35 GiB then click add mount point

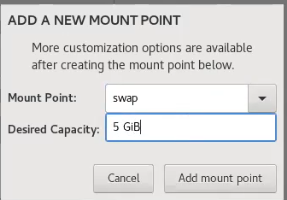
Next allocate 5 GiB of SWAP memory(acts as secondary RAM when RAM is not sufficient to process Data due to heavy operations ) and click add mount point
Table : Recommended Swap Space Requirements
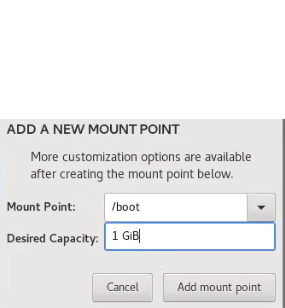
Next boot(whenever system starts needs some memory )partition of 1 GiB then click add mount point
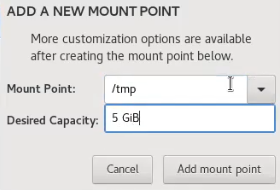
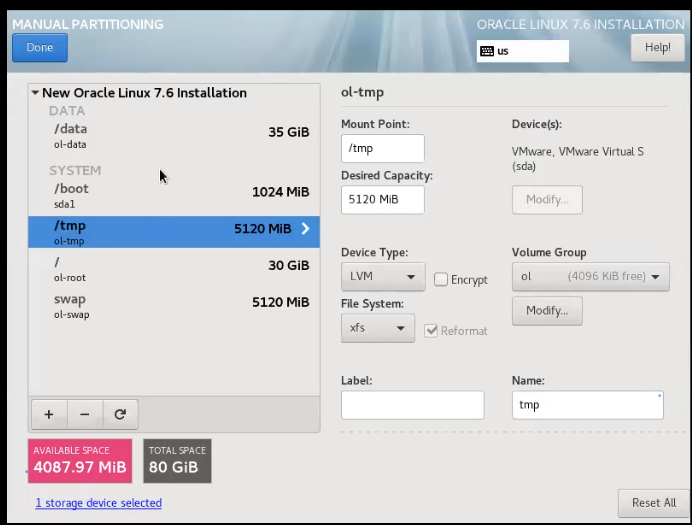
Next partition is /tmp (server performs temporary operations like copying,pasting first in /tmp directory and then send to destination ) give space of 5 GiB
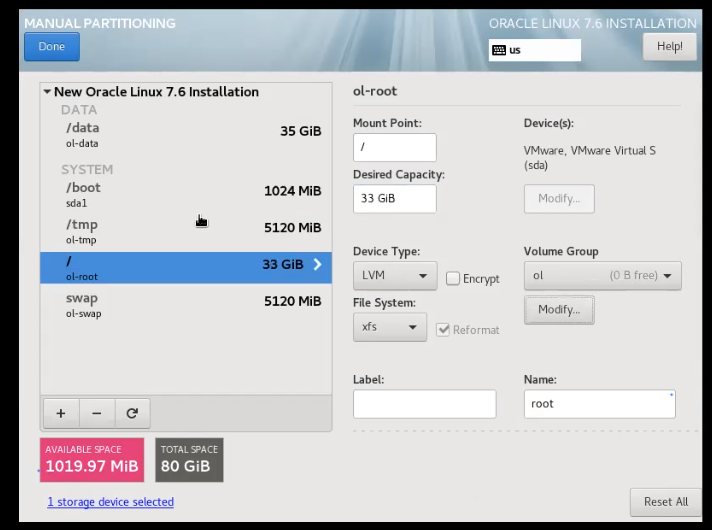
Still 4GiB space is available so we can
We can add this up to our root partition so increase from 30 Gib to 33 Gib in our case here so modify and save
More 1Gib space is left we can leave as it is
Click on done
Next click on Accept changes

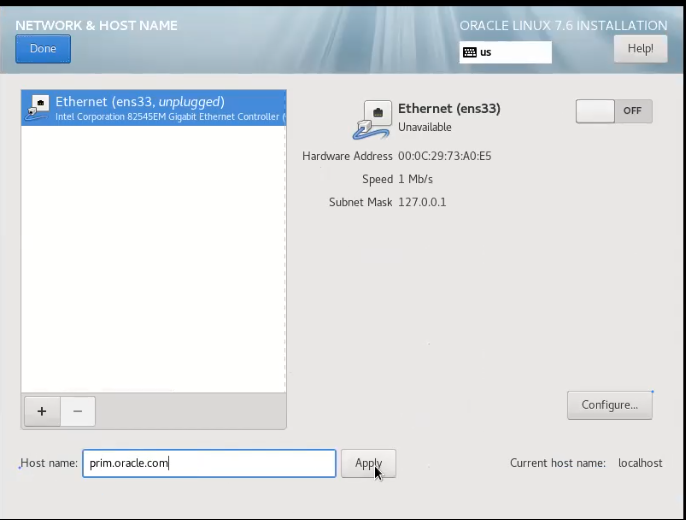
Now next its asking us what’s the hostname name every machine or server will have a hostname so click on network and hostname and
Here we give hostname as prime.oracle.com
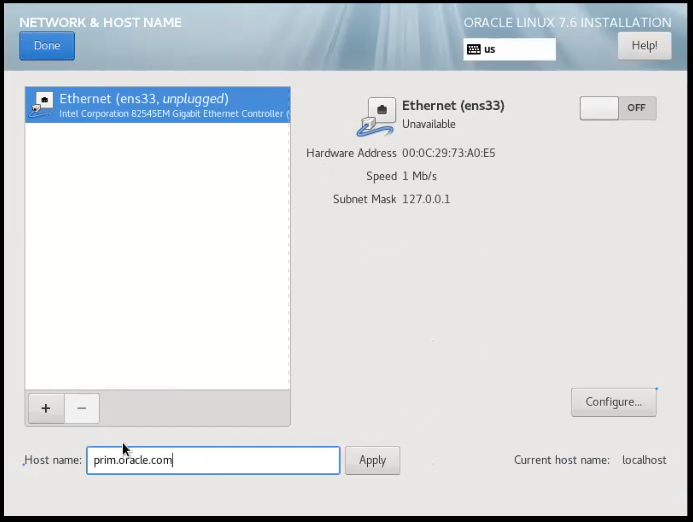
Click on apply and done
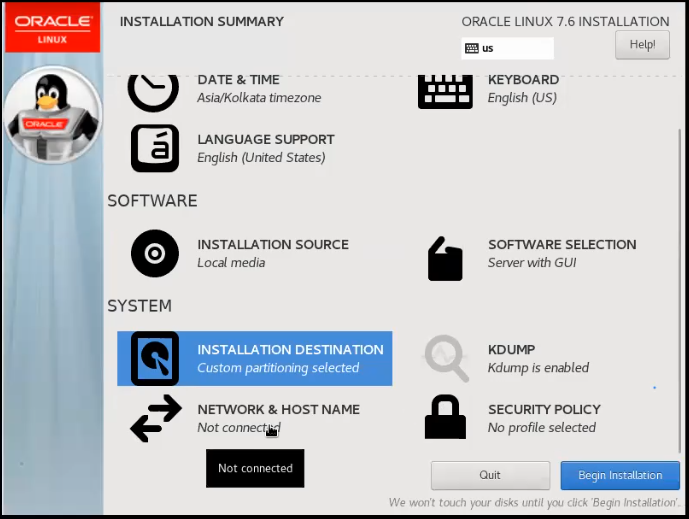
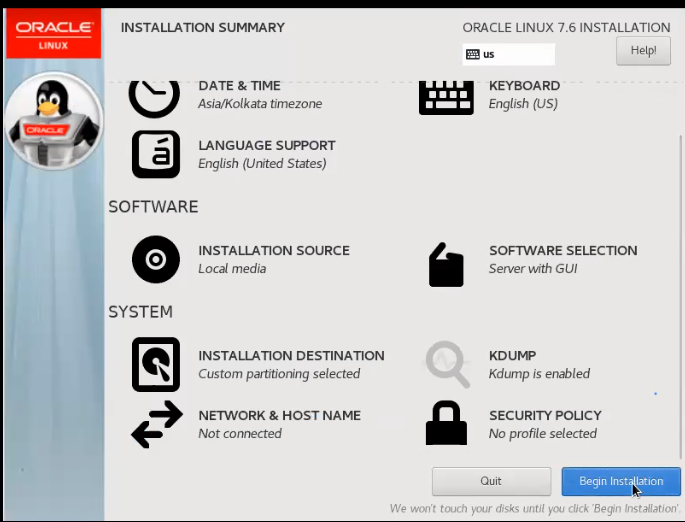
crosscheck everything
-Software selection will be server with GUI
-Installation destination should be Custom partitioning selected
-Under network and hostname we have set the hostname network ip configuration we will do after installation
Next click on Begin installation
By default one user will be created that user is called root
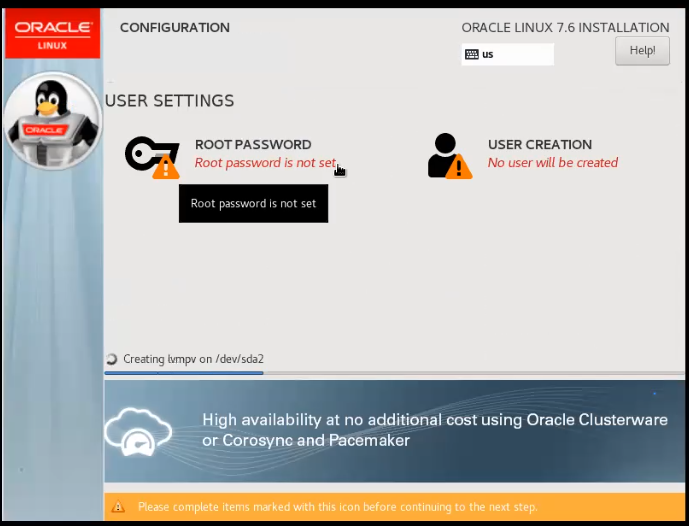
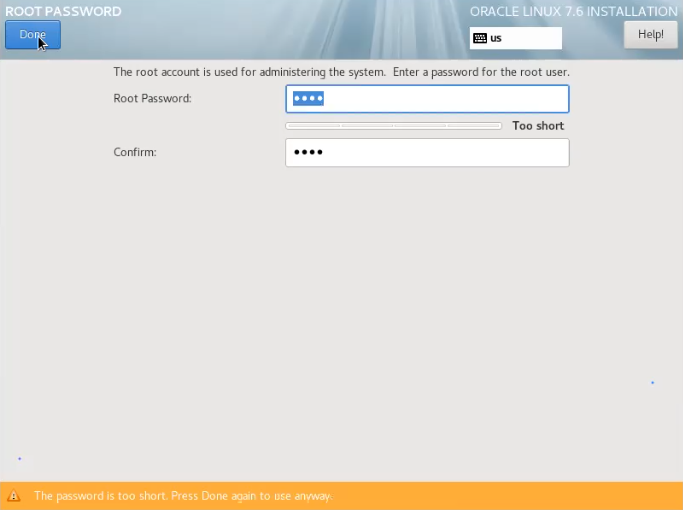
Give the root password
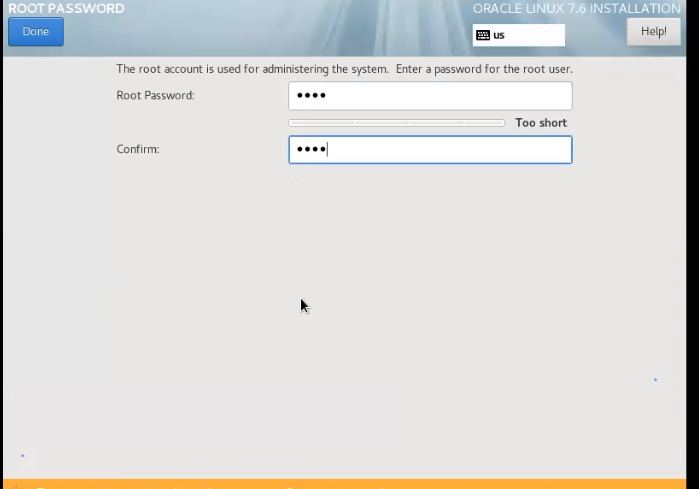
Click on done twice now
our server installation is in progress.depending on our internet speed ,RAM the server installation will be completed
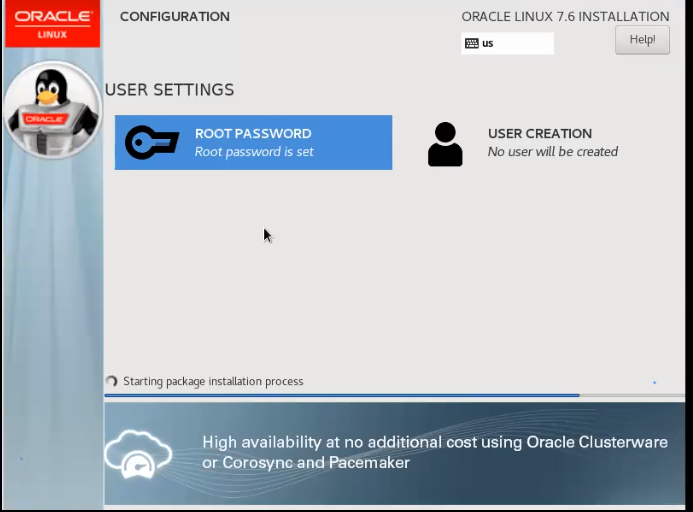
Now we a see a prompt related to licencing accept it
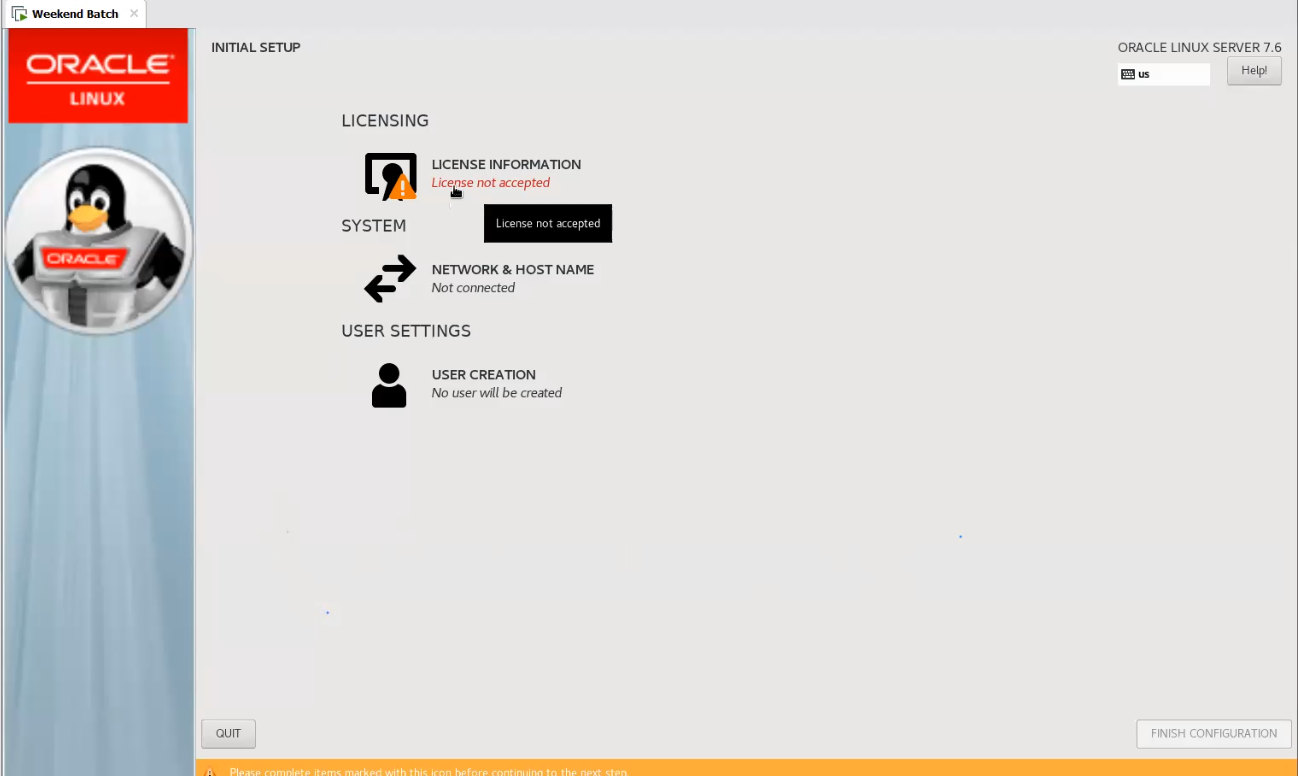
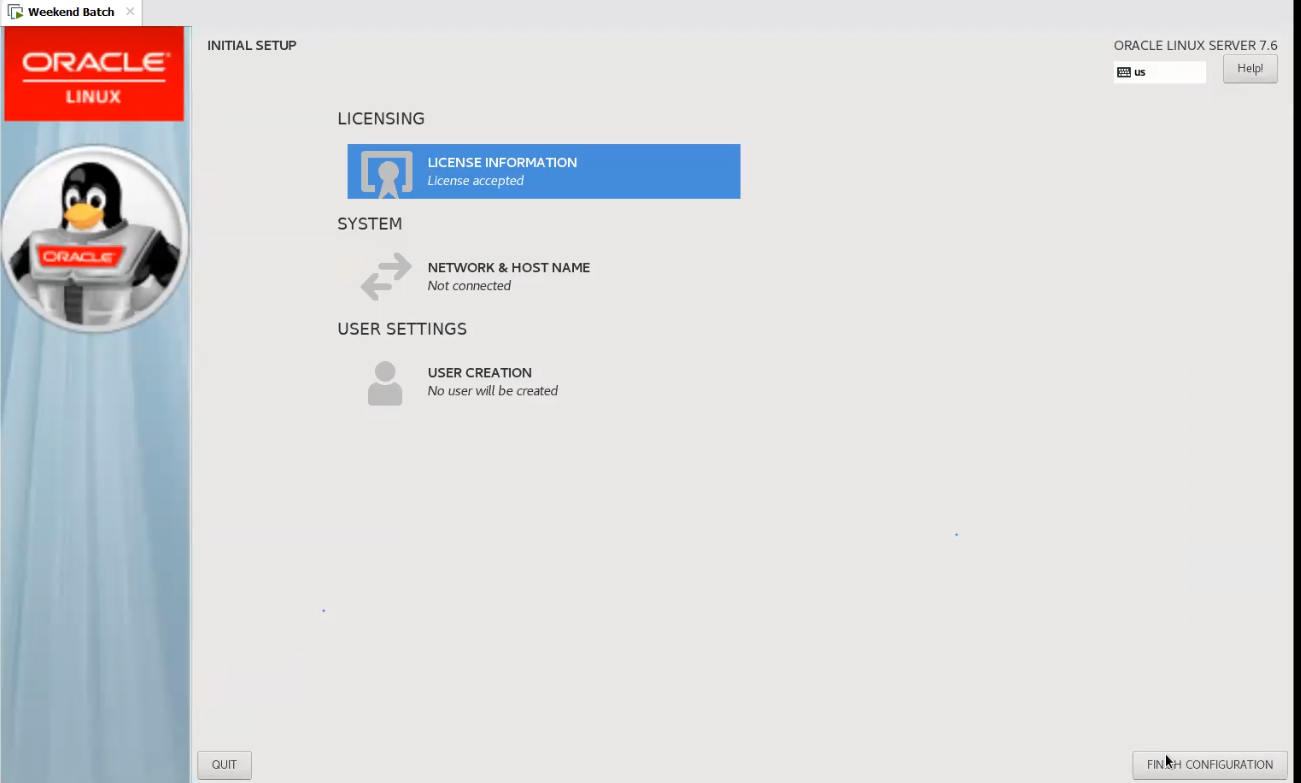
Accept and click done

Click on finish configuration
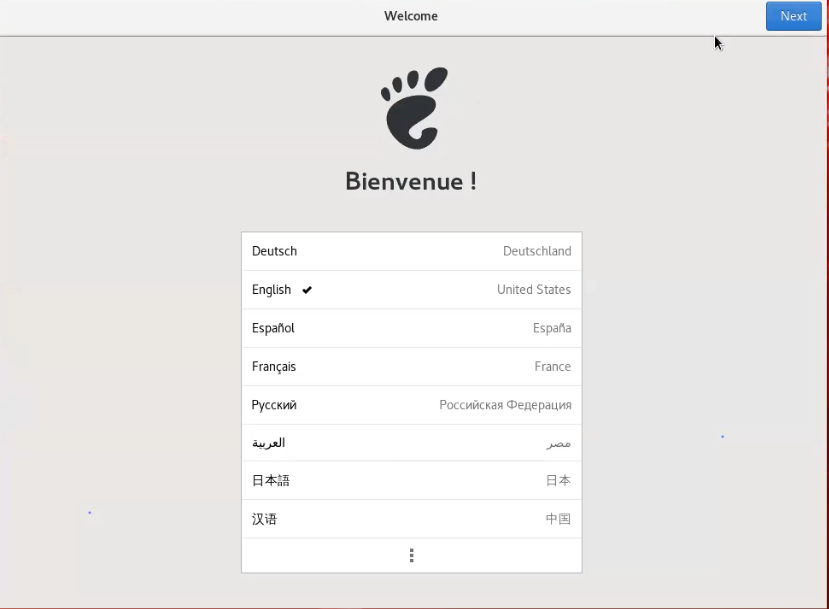
Click next for language as english
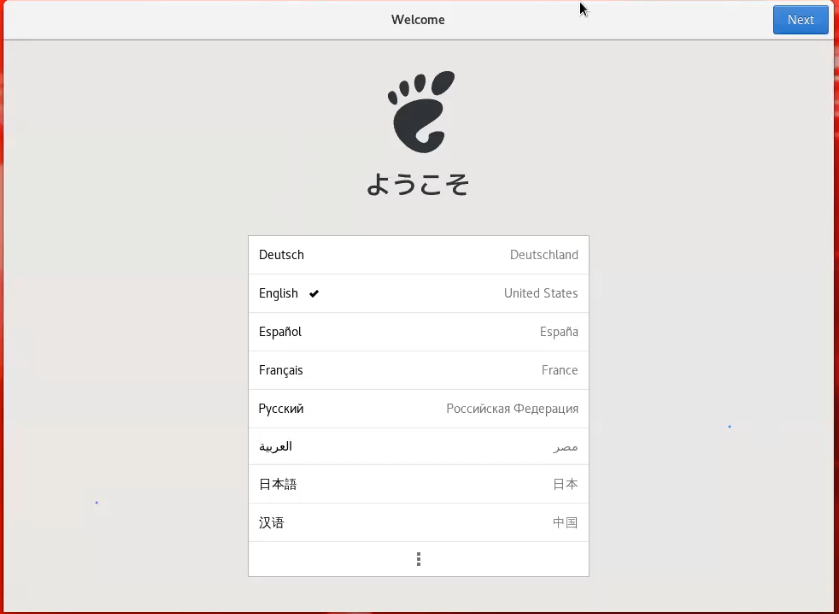
Click Next
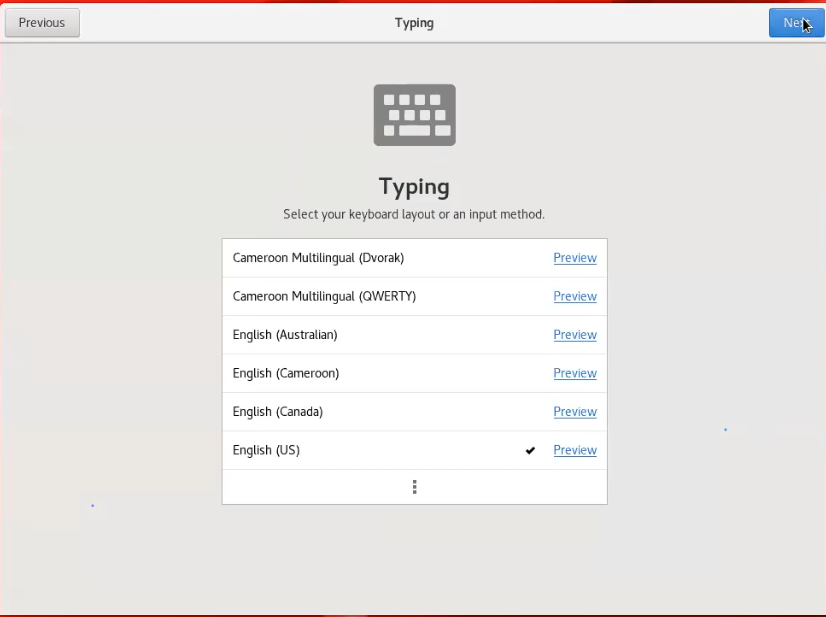
click next

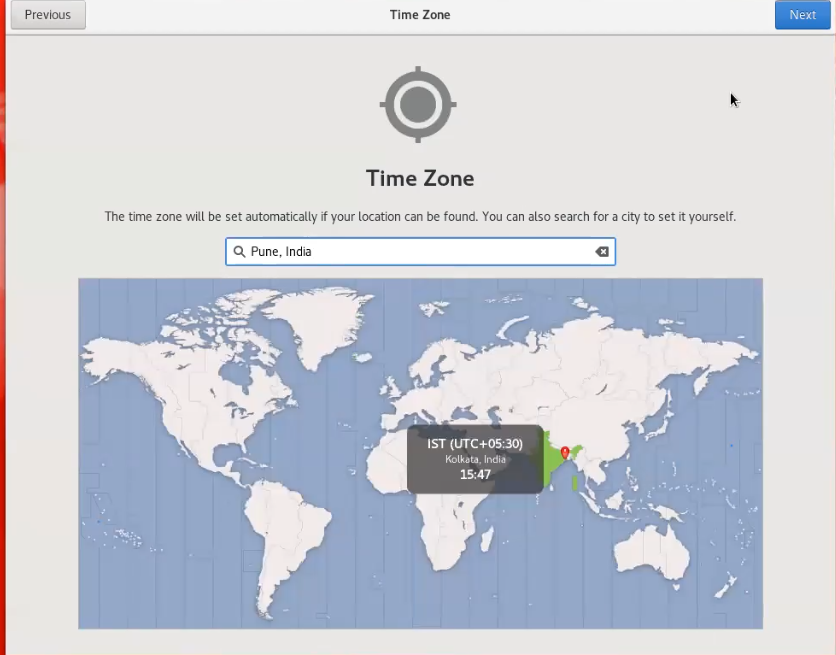
Mention your location click Next
Click skip

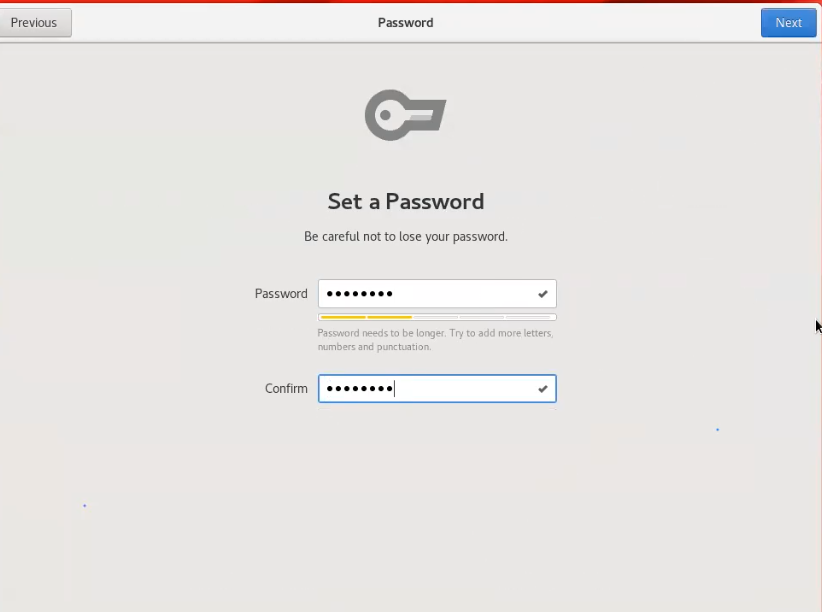
Next by default we need to create one user click Next

give a strong password click next
Click on start using oracle linux server

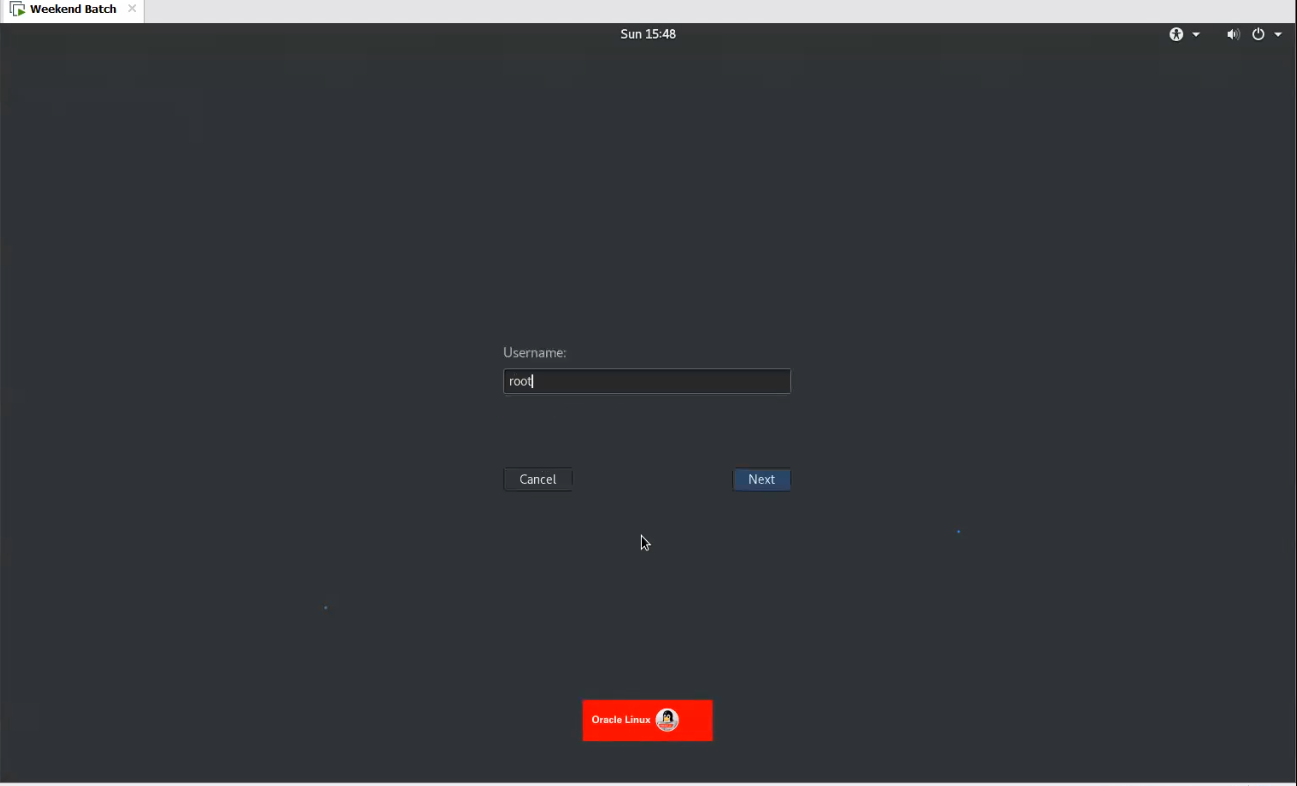
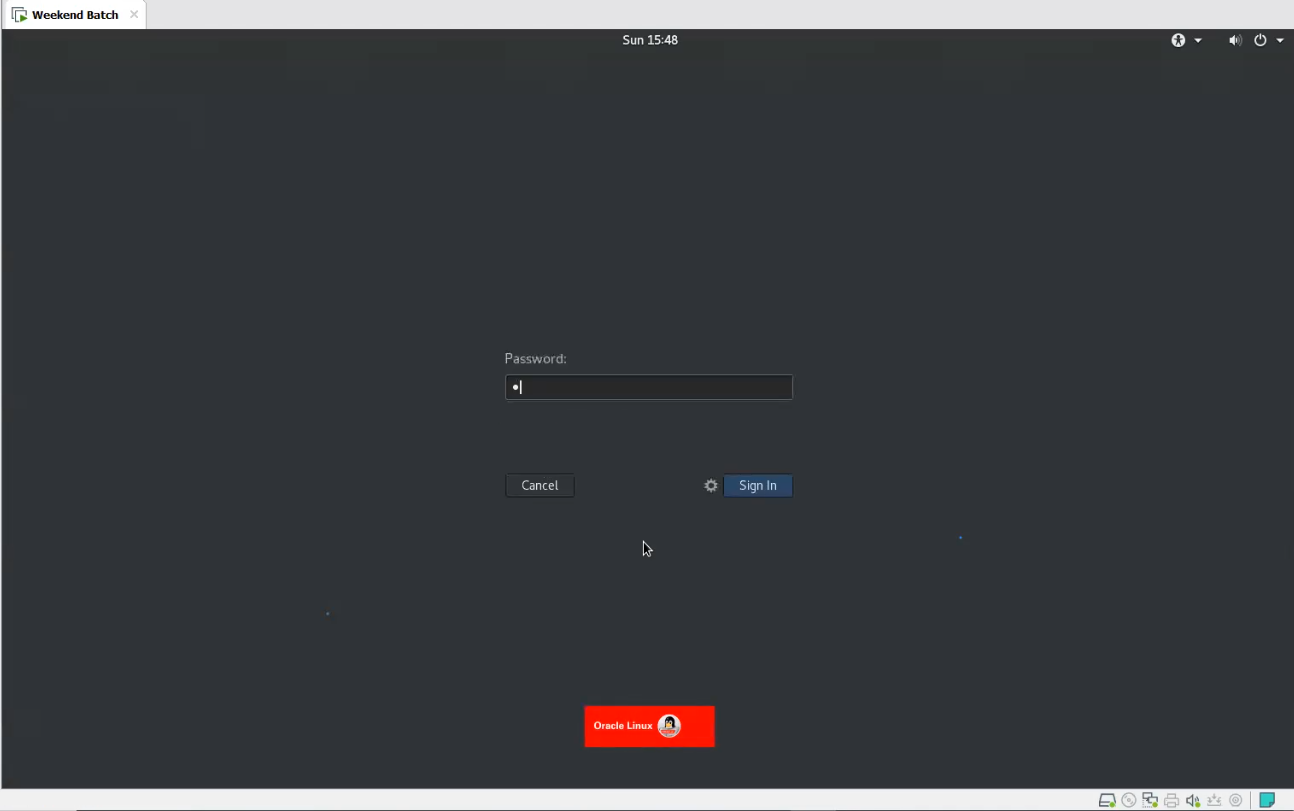
You are logged in as default user log out and login as root user

Click on not listed

And login as root user and password
Click on next ,next,next
Now logged in as root user

——-Our oracle linux server installation is completed here ———–
Next the first thing what we have to do is take the remote of this machine using a software which which we have already install and that is called putty
For this to happen we need to perform some networking operations as a root user
Disable firewall to connect putty to remote server
systemctl stop firewalld
systemctl disable firewalld
First two network adapter
Click on VM –> Setting
Add Two adapter
1) NAT – > Assign the NAT adapter -> CUSTOME with NAT
2)BRIDGE Adapter
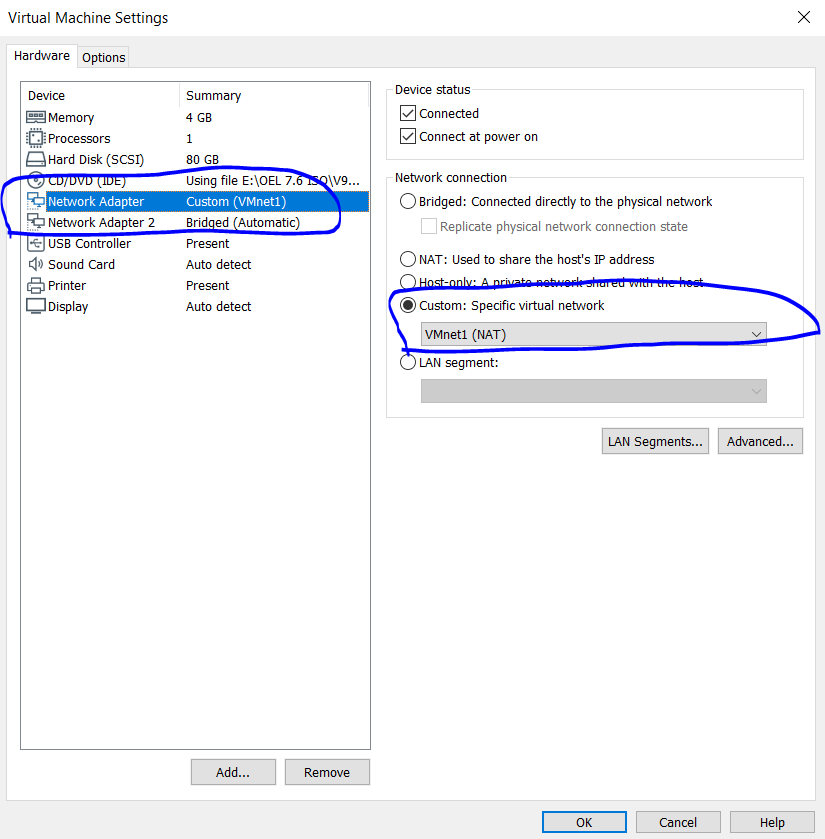
Click on Edit – > Virtual network Editor. NAT adapter need to be assign with following IP

Go Inside vmware and click on power button then click on setting symbol
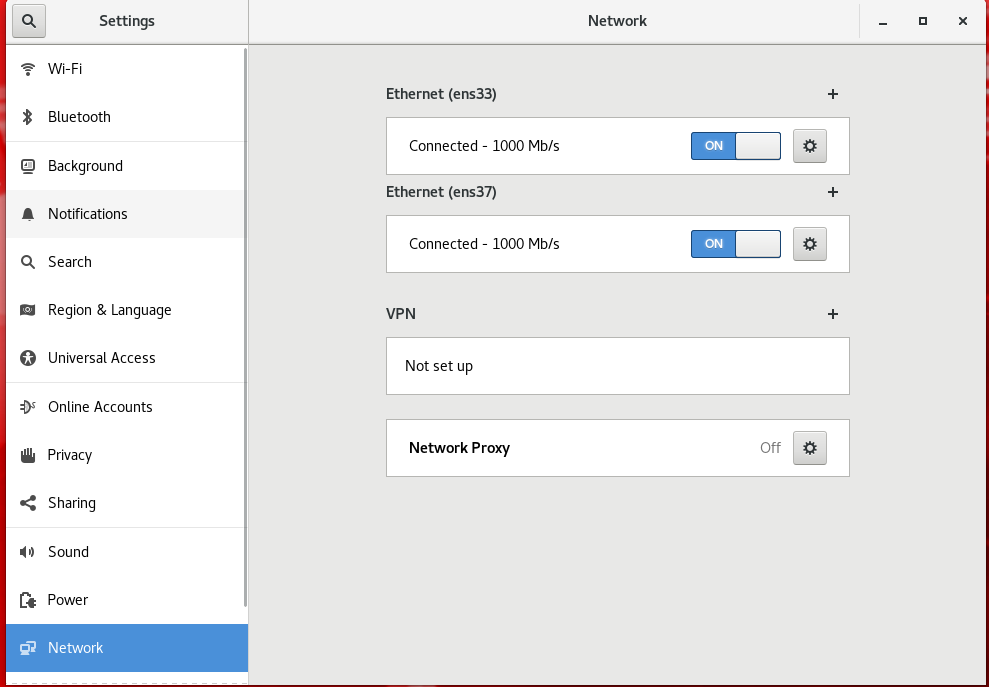
Ens33 needs to be assign with dynamic ip and ens37 need to be assign with static ip
ens33 looks like below
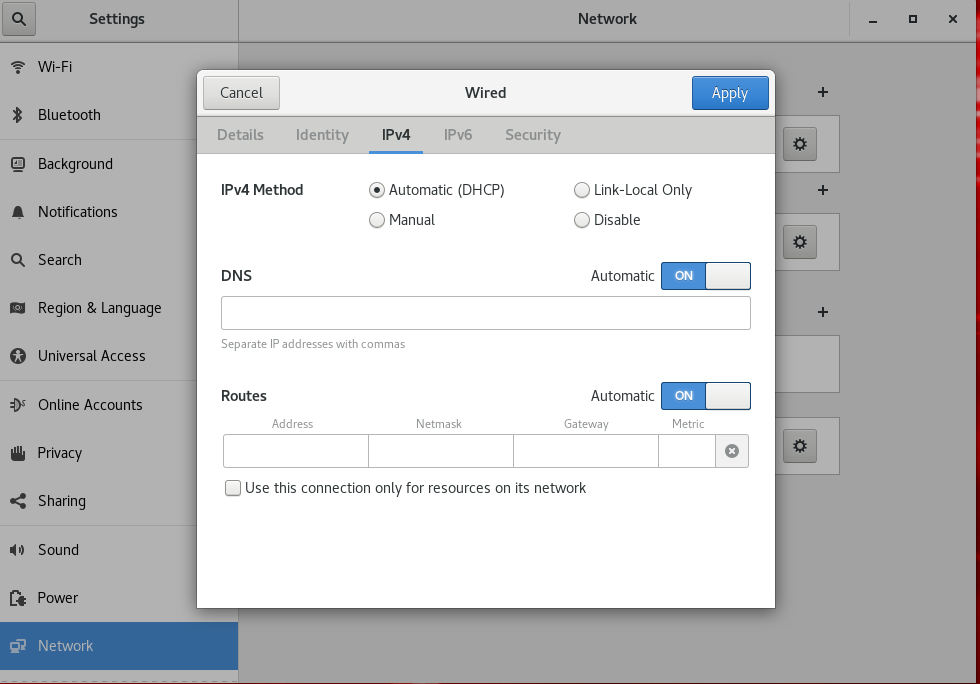
ens37 setting as below

Both ethernet ens33 and ens37 need to be connected. Make sure you select automatic on option from ethernet setting

Restart server and validate all setting saved properly
Open vmware linux terminal and fire below command.
init 6
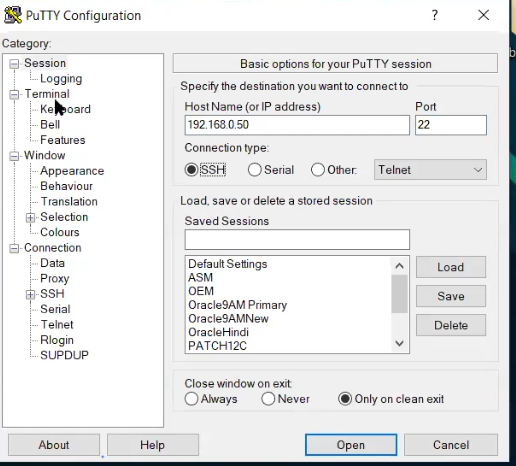
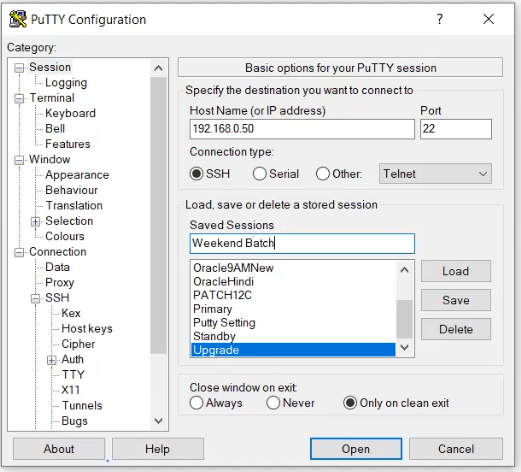
Open putty and enter the IP address 192.168.0.120 and also so other setting of putty
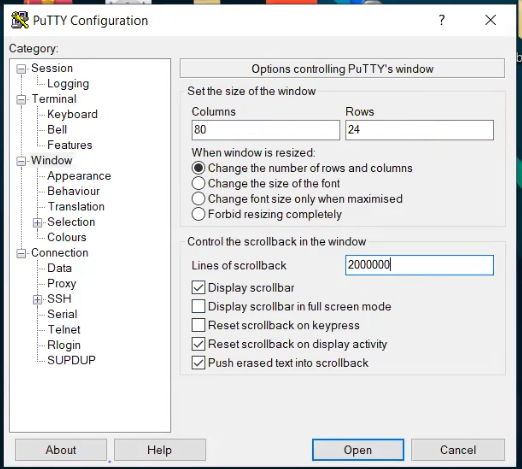
Increase line of scrolling
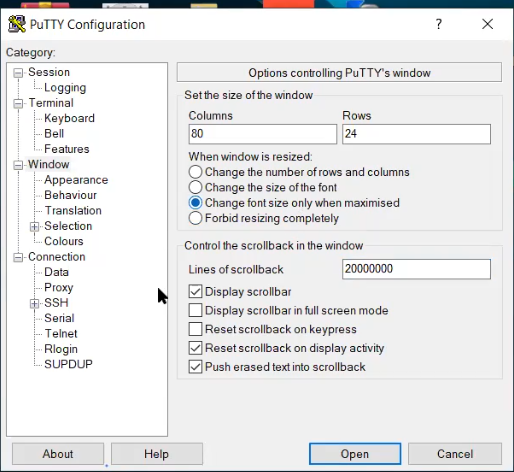
Select Change font size when maximize
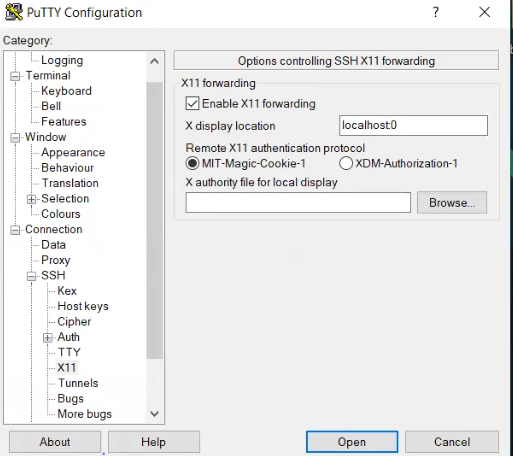
Click on ssh click on x11
Click on enable x11 forwarding
And enter X display Location to localhost:0
Click on session
Give name in saved session as weekend Batch
Click on save
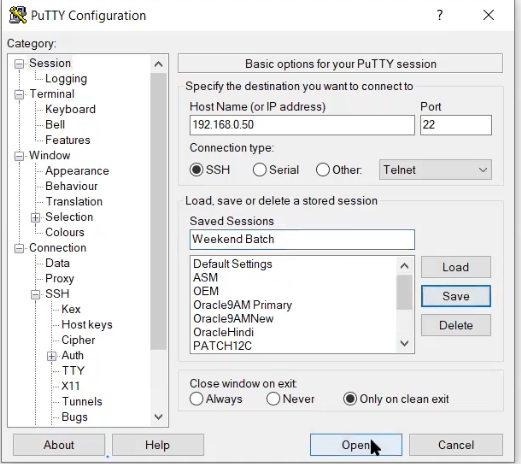
And click on open
Click on open
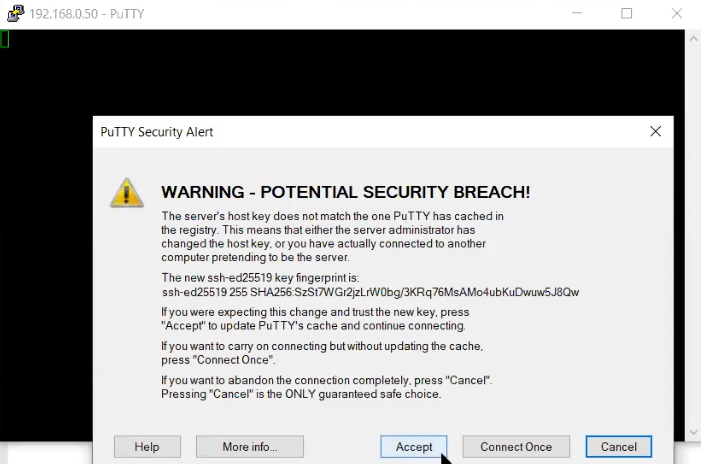
Accept
Enter the username as root and password
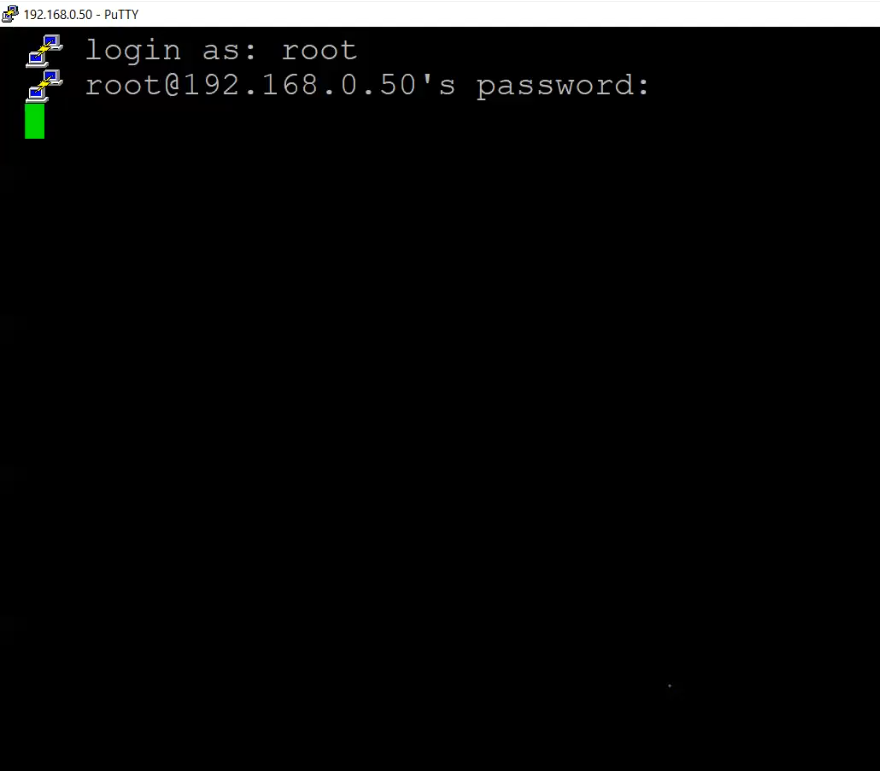
The putty seems hanging
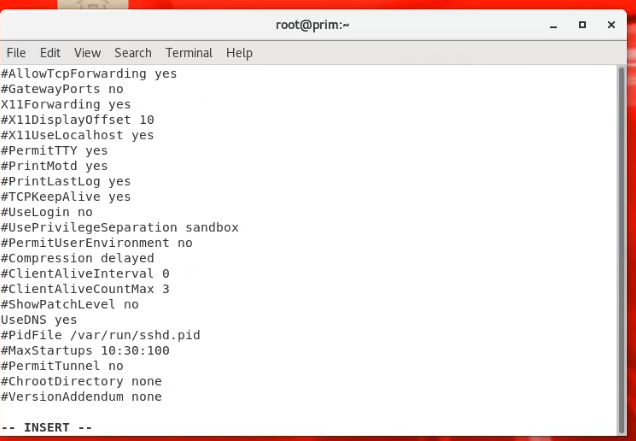
So in order to get the prompt fast we need to disable dns service which it is looking for here
Go to vmware vi /etc/ssh/sshd_config file and disable use DNS

Now the prompt appears faster after disabling dns
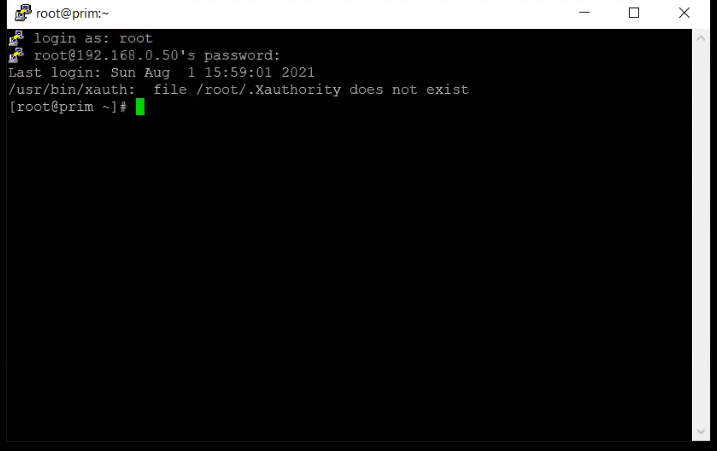
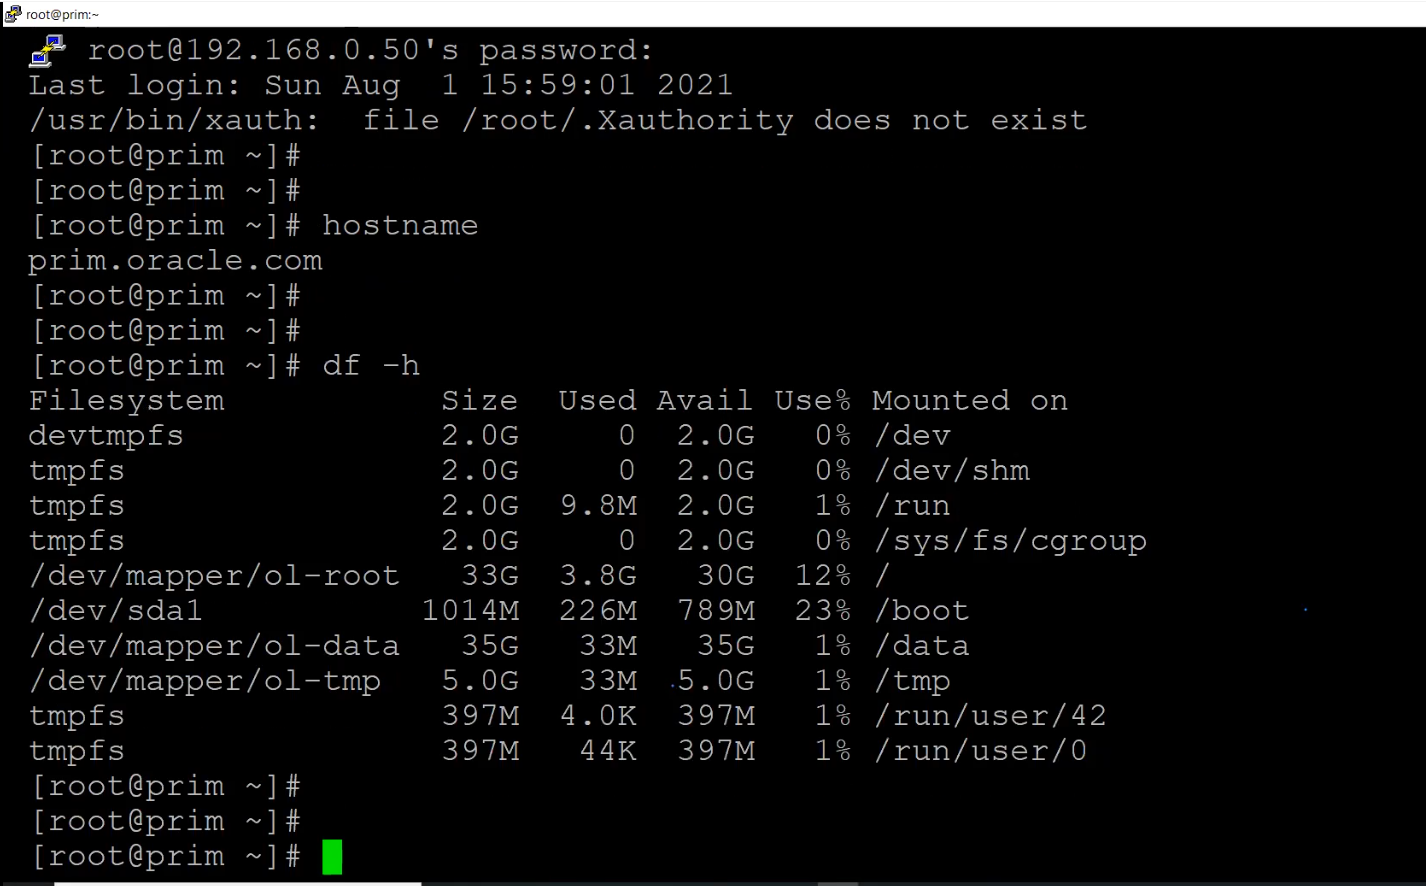
And you can verify the settings using linux commands
Hope it helps
**************THE END **********************
