In this blog , We will be unplugging PDB from Oracle 12c CDB and plug it into Oracle 19c CDB. All the steps of unplugging and plugging PDB remain the same except we need to perform PDB upgrade.
Steps are as follows :
1. Unplug PDB from 12c CDB.
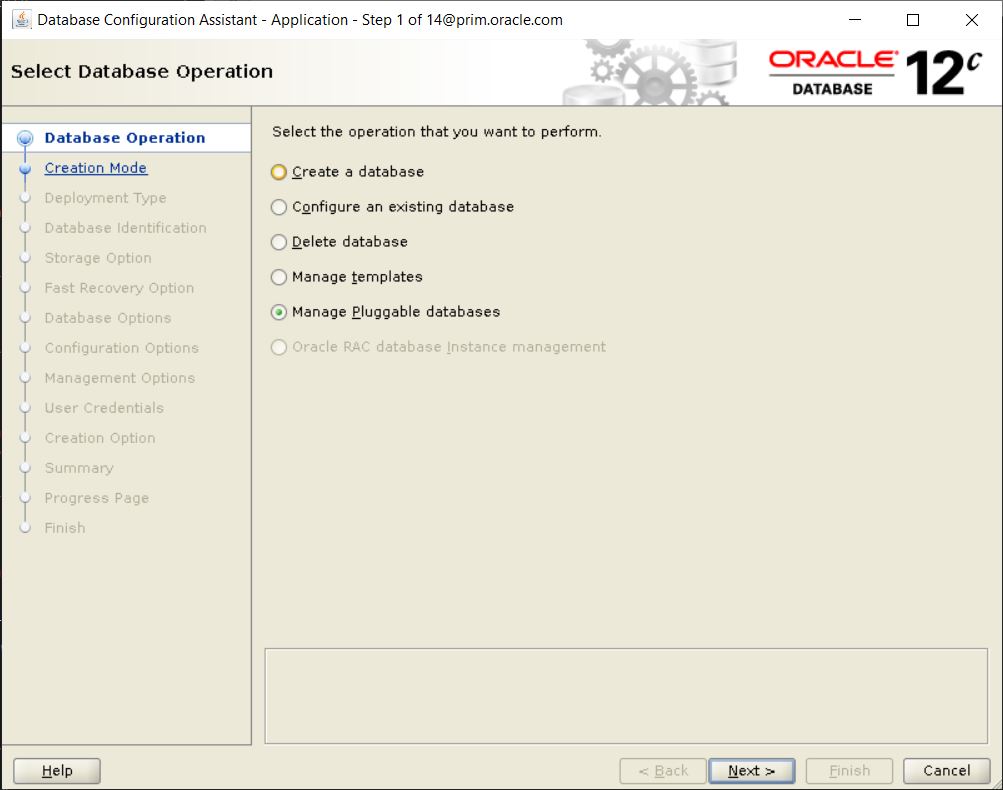
Goto $ORACLE_HOME/bin location and Run ./dbca command. Select Manage Pluggable Database.
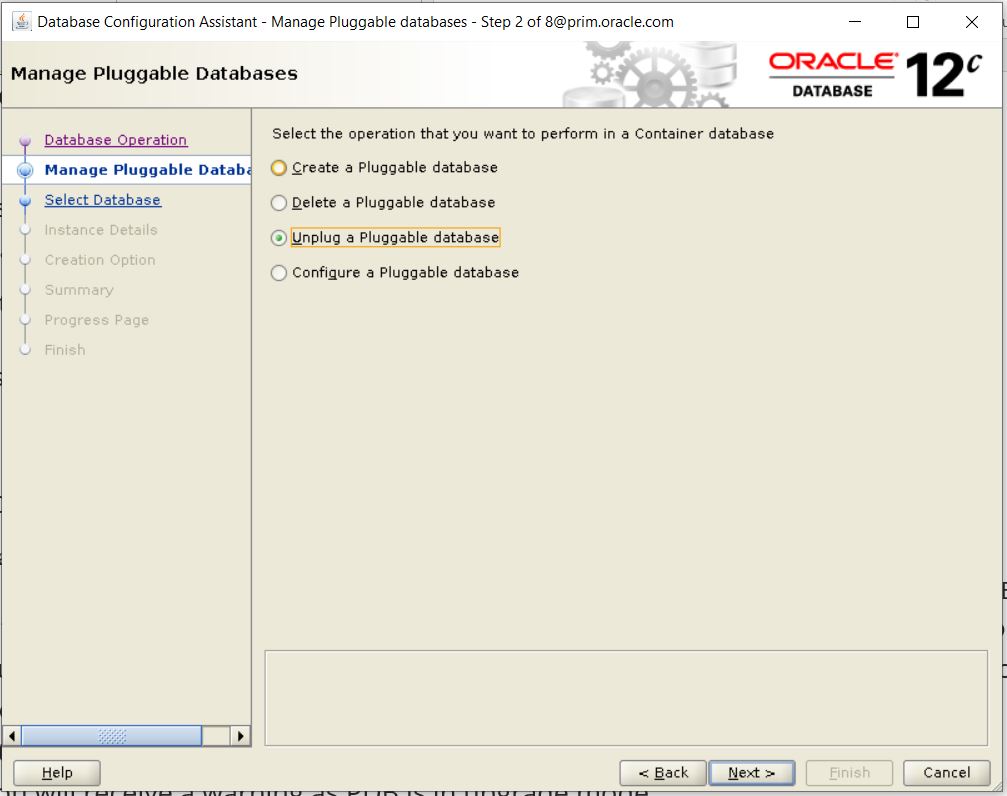
2. Select Unplug a Pluggable database then click the next button Select.
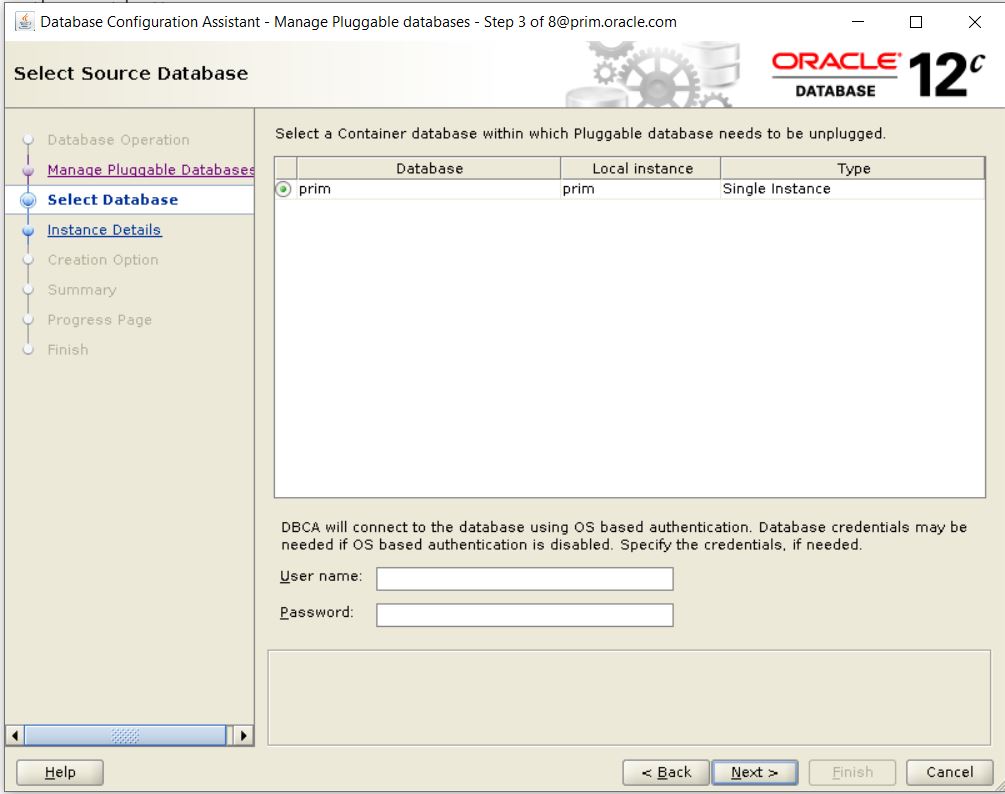
3. Select the container database which pluggable database we need to unplug and click the next button.
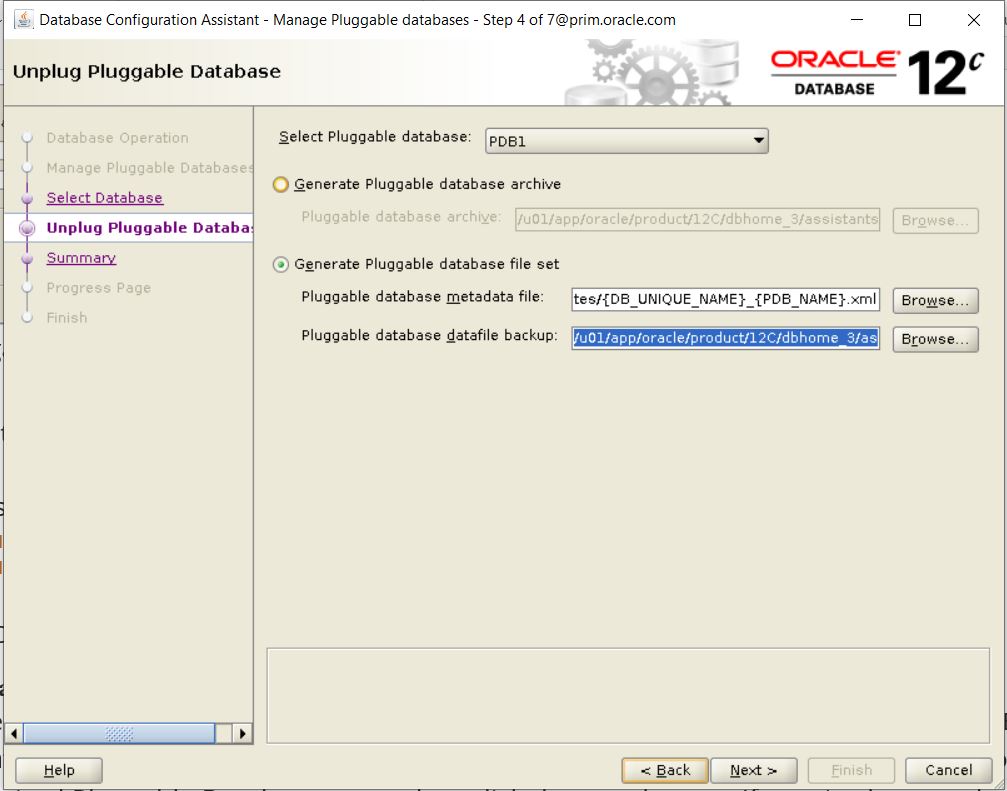
4. We need to select the Pluggable database name from the drop-down box and then click the next button.
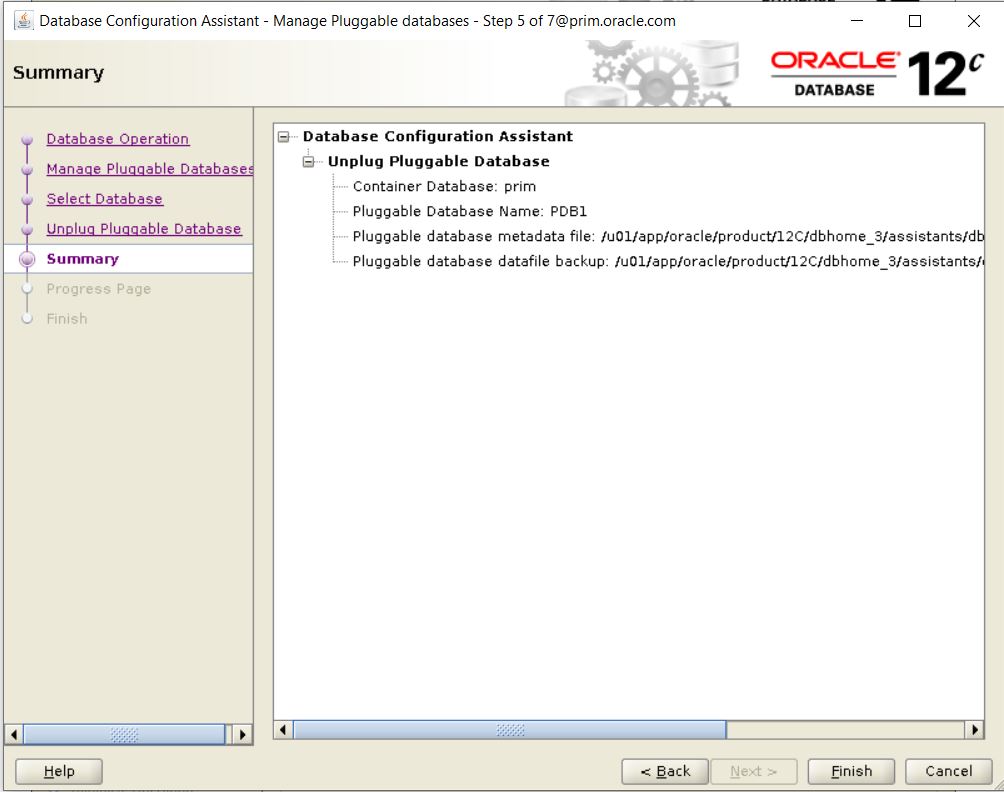
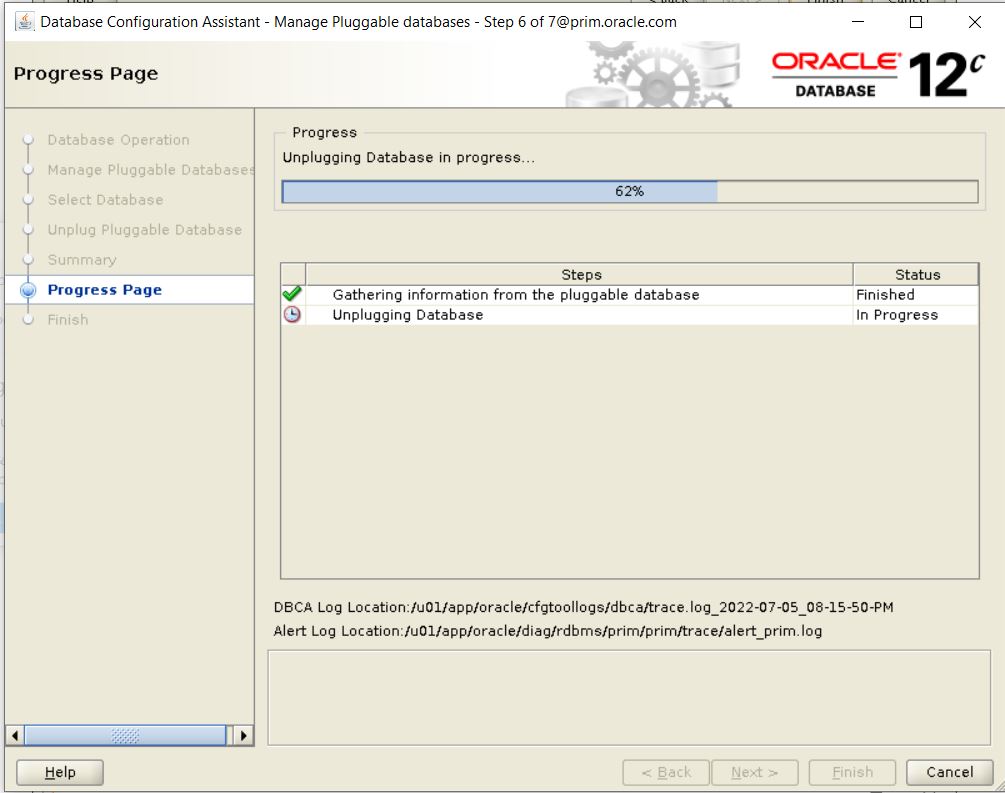
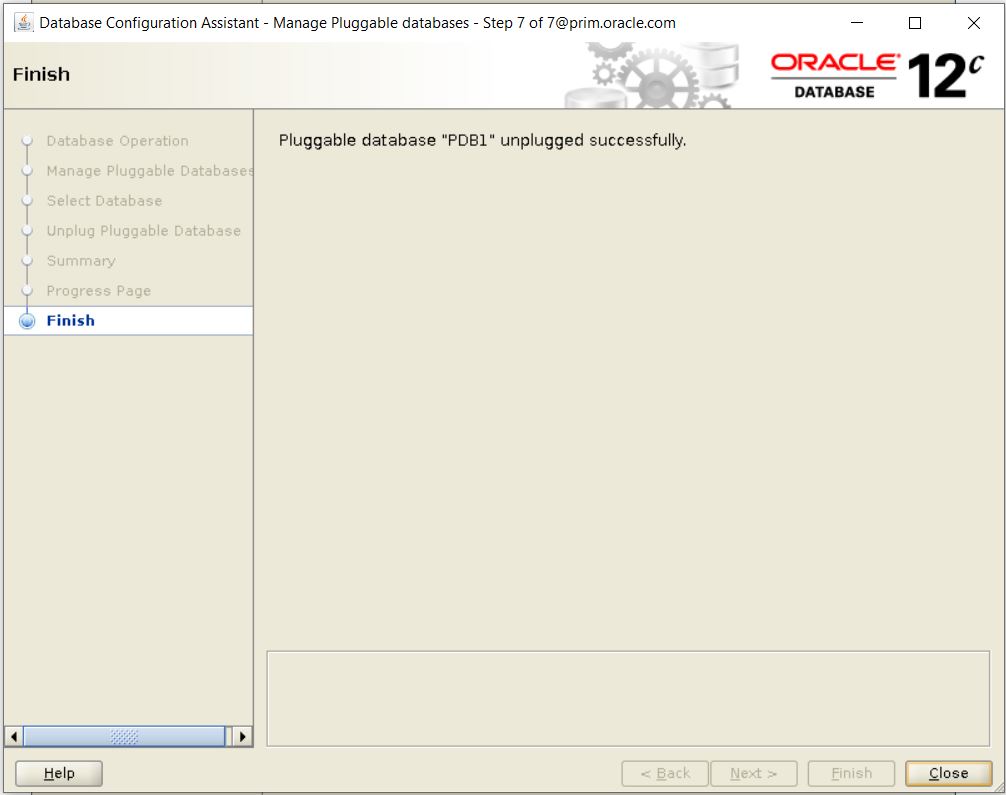
5. It will show the unpluggable database details
6 . Transfer file to 19c CDB Server.
Now transfer database file set from 12c to 19c using SCP or WINSCP. PDB database file sets.
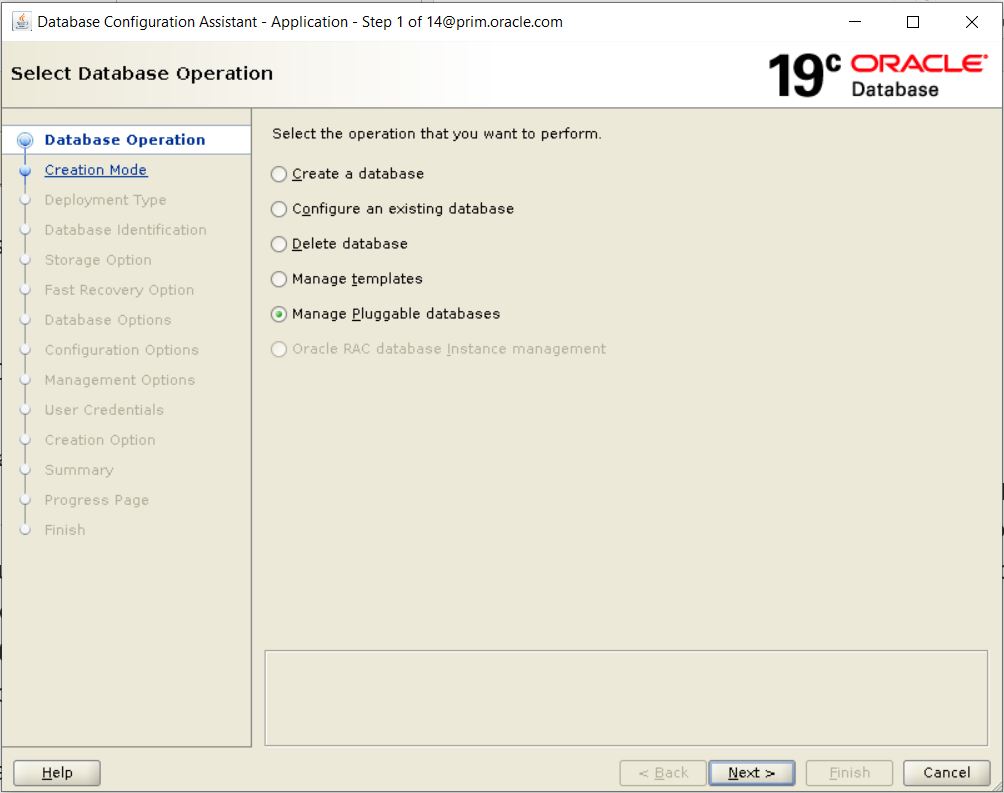
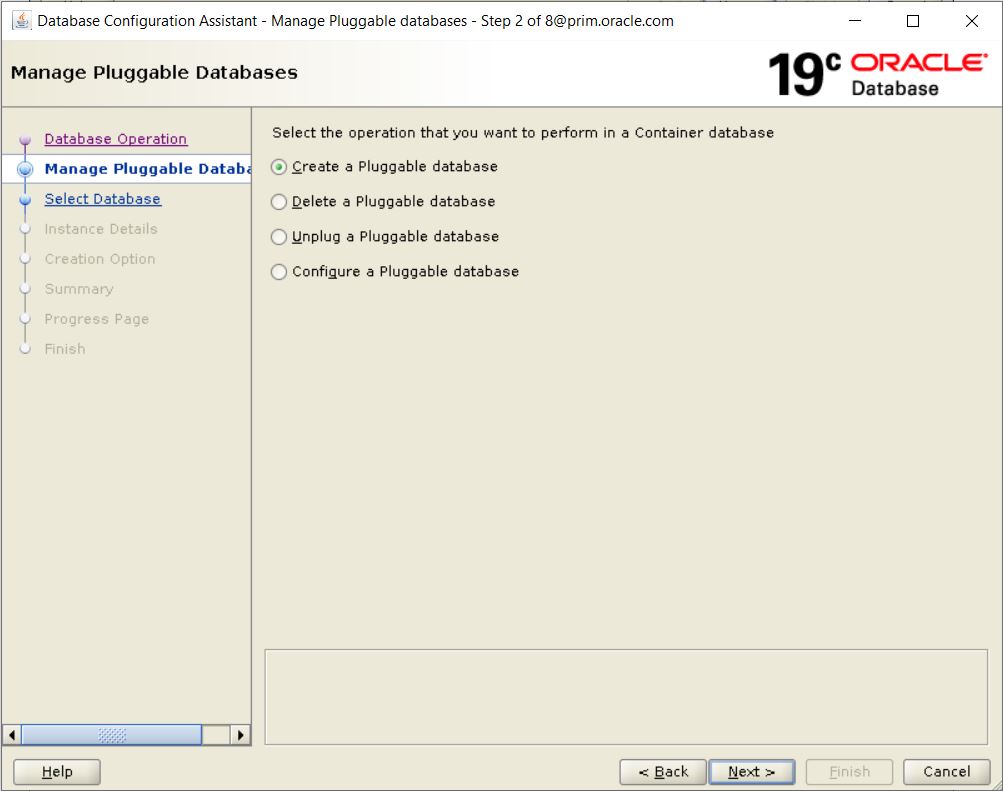
8. Run dbca command from 19c CDB. Choose the Manage Pluggable Databases option in it then click the next button.
9. Select Create a Pluggable database Choose.
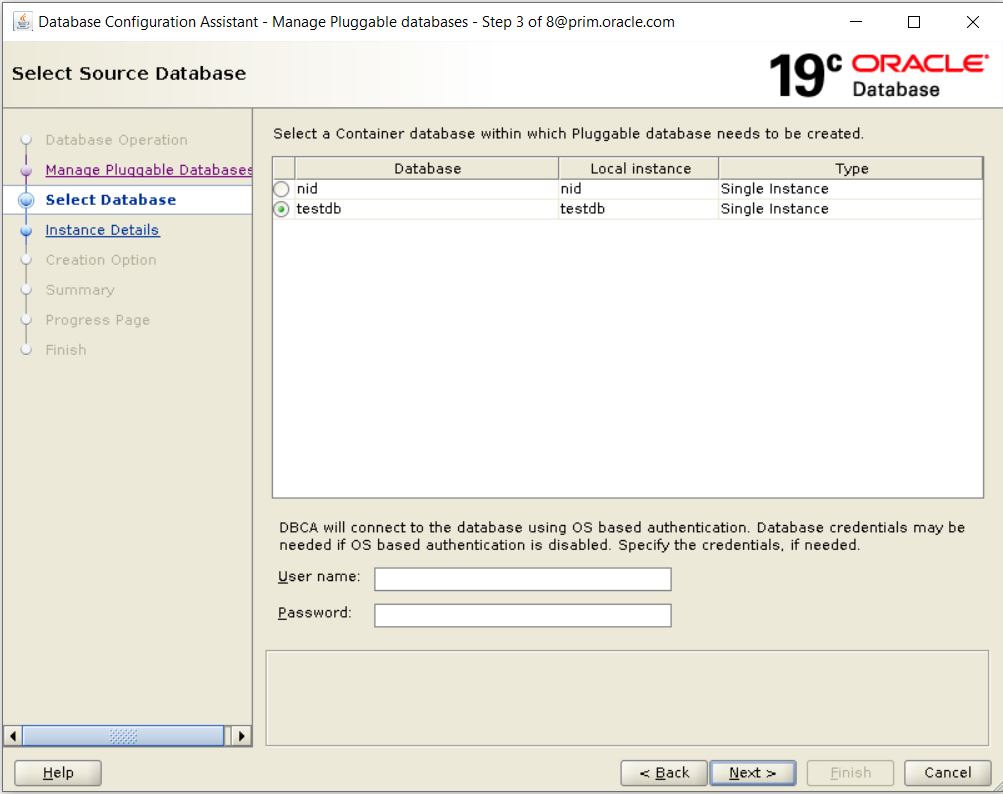
10. Choose the container database on which we are planning to plug the pdb1, we have only 2 container so we will select testdb & click NEXT to proceed.
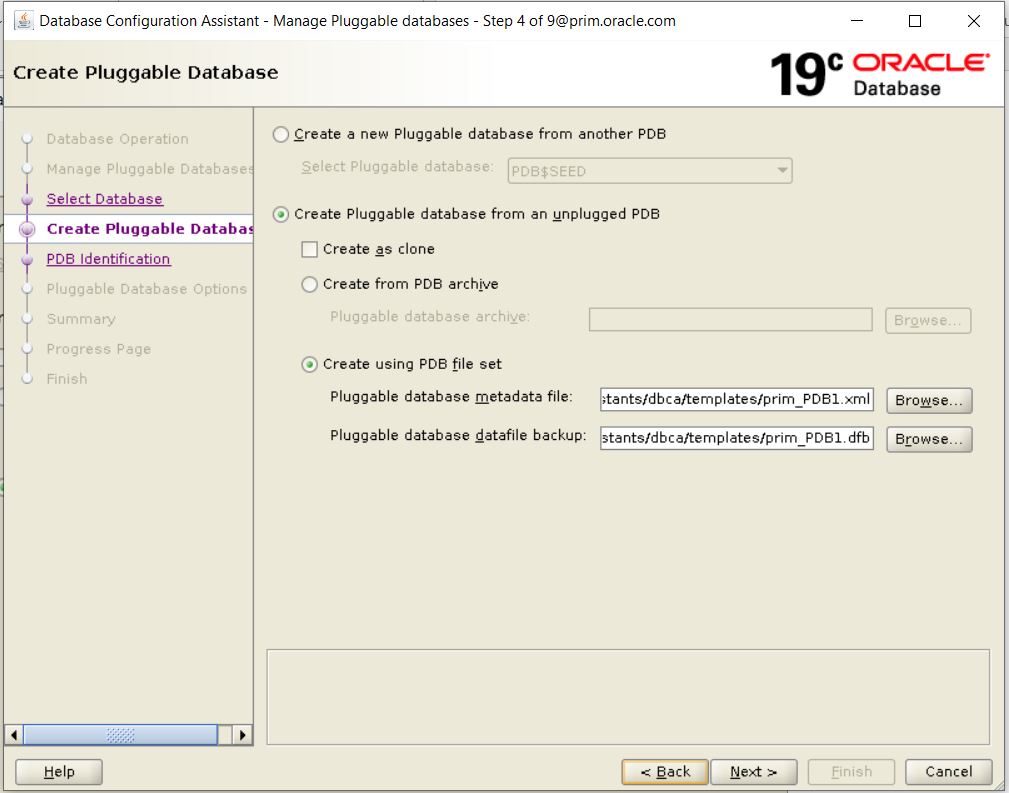
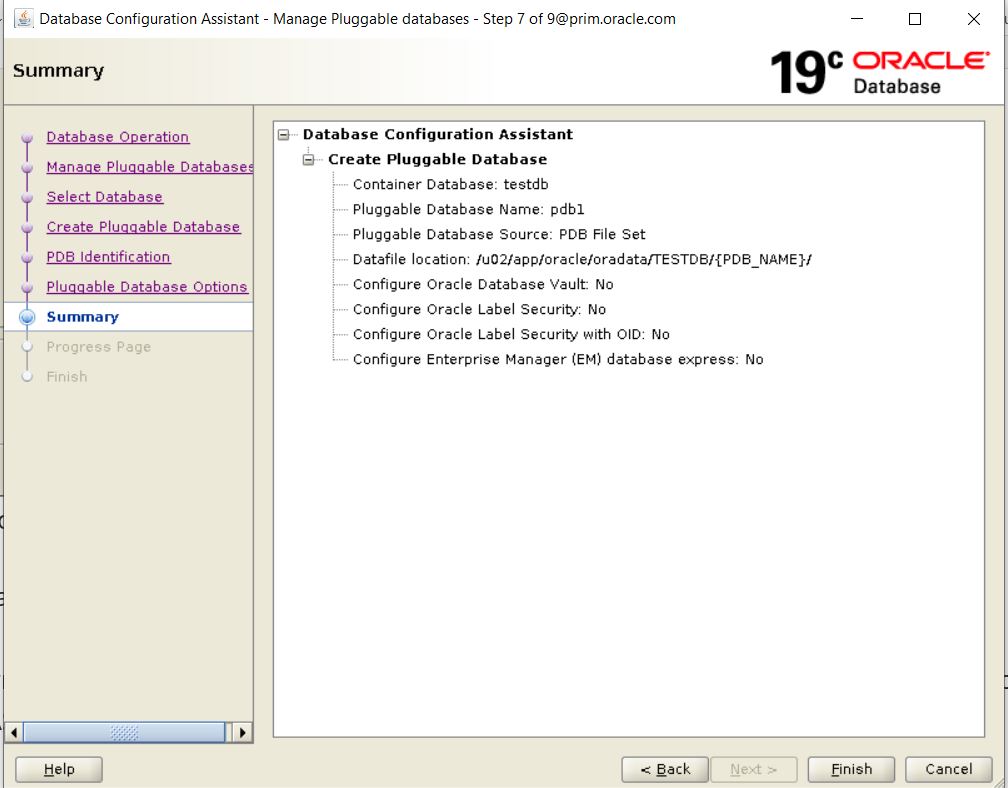
11. Select Create Pluggable database from an unplugged PDB and select the transferred database file set from the 12c and click NEXT.
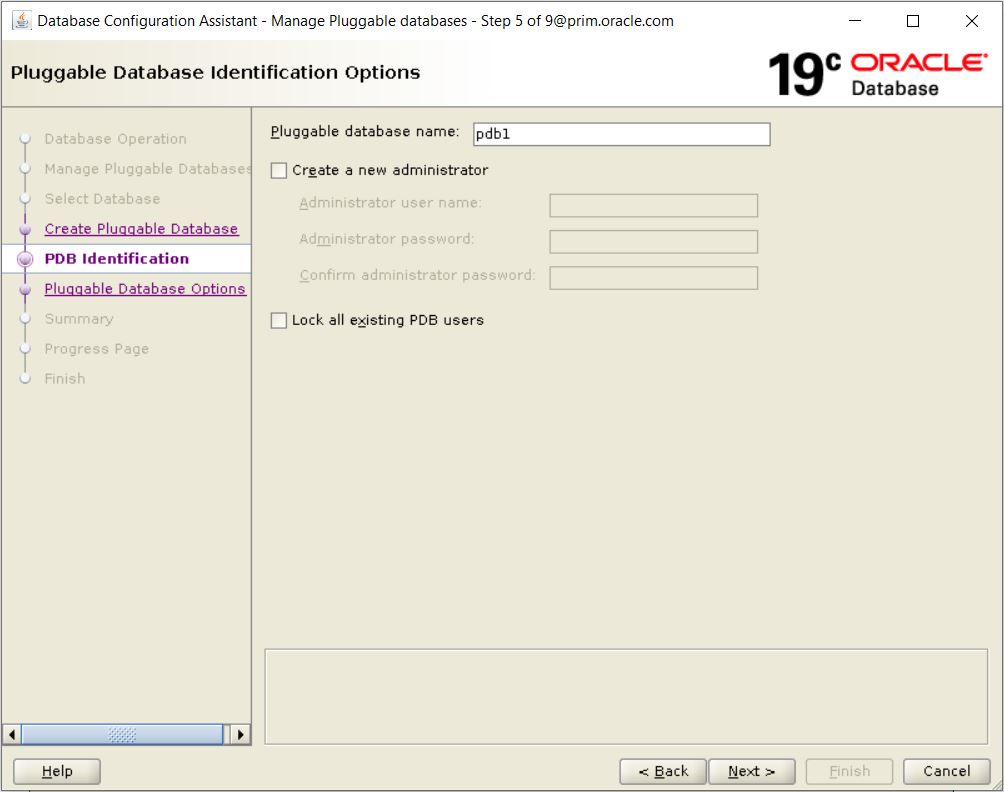
12. We need to provide the required Pluggable Database name then click the next button. If required we can lock all other PDB users and can create a new administrator option too.
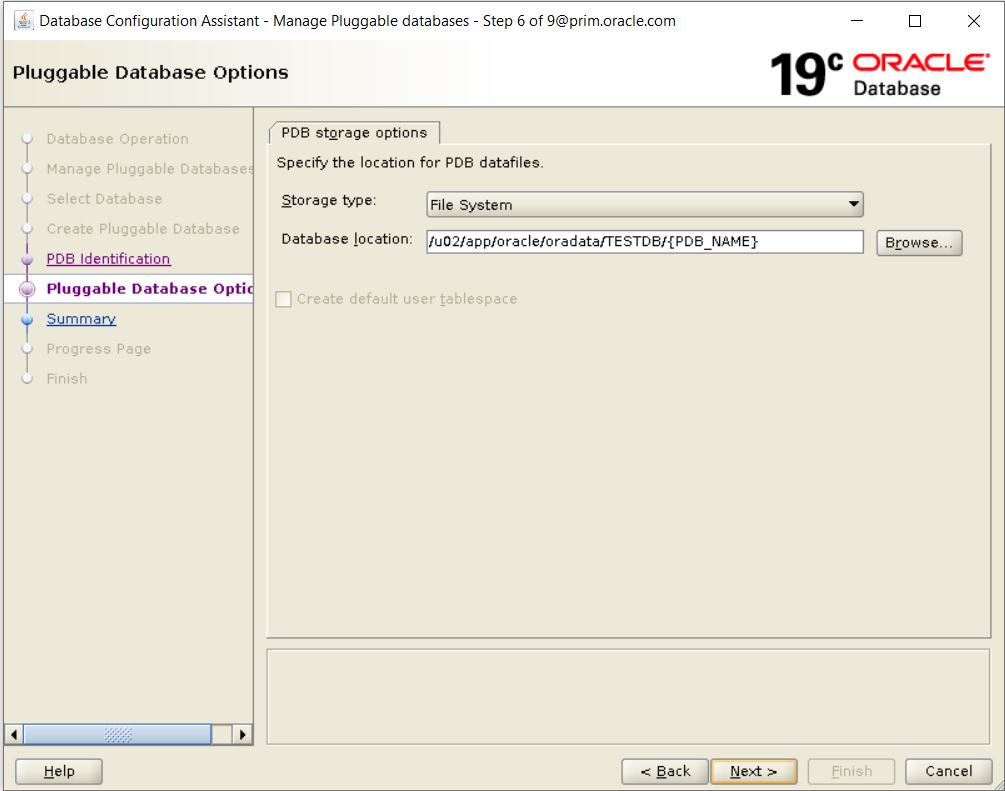
13. It will automatically choose the storage type and location if exists already.
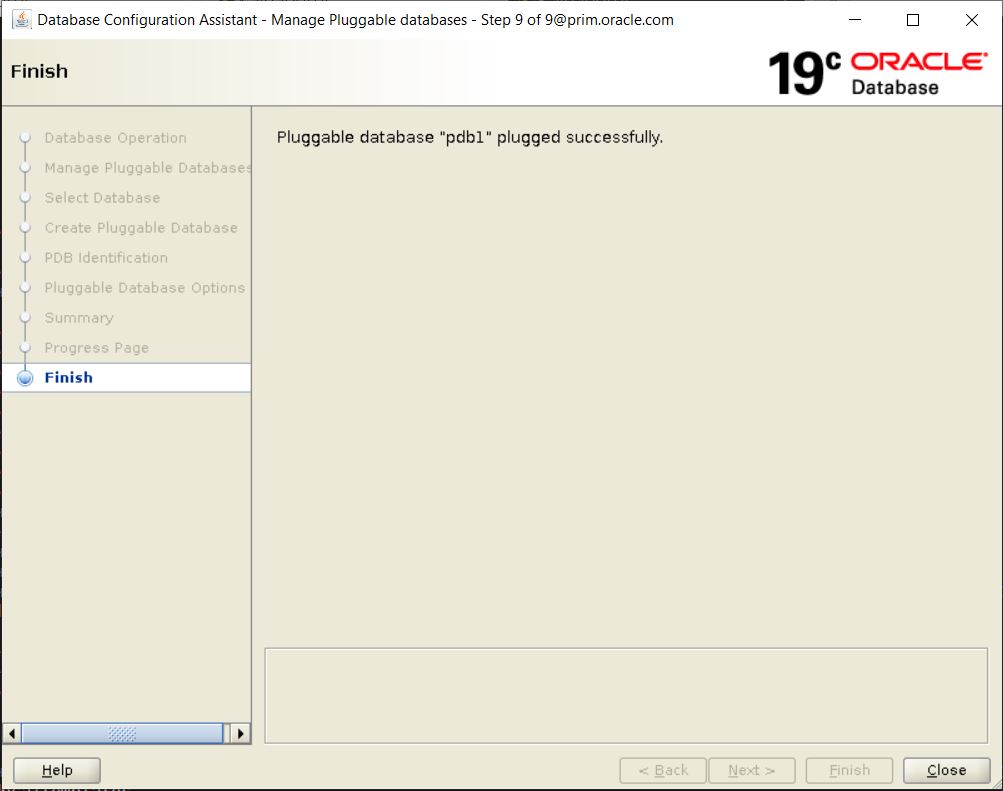
14. At the end of the process, you will receive a warning as PDB is in upgrade mode.
15. Upgrade PDB.
16. Run dbupgrade -c pdb1 as the PDB1 is in Migrate mode.
17.
dbupgrade -c pdb1
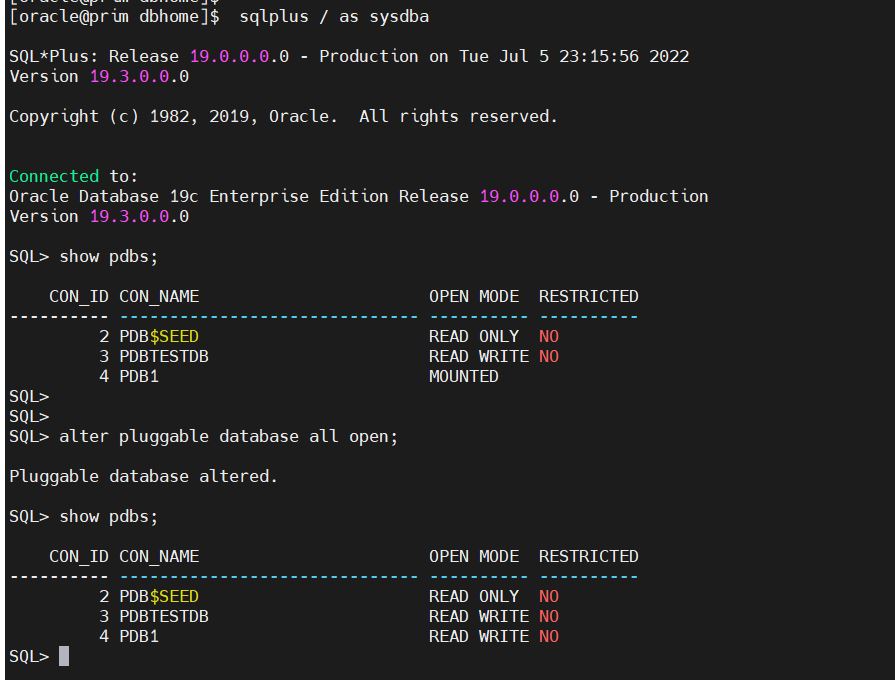
18. After completion of the upgrade process, log in to the database and open pdb to bring the PDB from Mount to open.