


- 11 Nov, 2021
- 0 Comments
- 6 Mins Read
Oracle 19c Database Installation (on Linux 7.6) on VMware Workstation
Oracle 19c Database Installation (on Oracle Linux 7.6) on VMware Workstation
Section-1
Download and unzip Oracle 19c Software
Create a staging directory
# | Description | Command / Details / Screenshots |
1.1 | let’s create a staging directory for all oracle software | Login to server as oracle |
1.2 | Create a new staging directory
| mkdir -p /data/staging/19C
Note: If you are getting “permission denied” error when trying to create /data/staging/19C directory, be sure to login as root and execute the following before attempting to create a directory again.
mkdir -p /data/staging/19C
|
1.3 | Verify directory is created | ls -ld /data/staging/19C
|
1.4 | Set Up .bash_profile | cd /home/oracle vi .bash_profile Add the following content in .bash_profile file # .bash_profile # Get the aliases and functions # User specific environment and startup programs # User specific environment and startup programs export ORACLE_BASE=/data/app/oracle export ORACLE_SID=prim export LD_LIBRARY_PATH=\$ORACLE_HOME/lib:/lib:/usr/lib PATH=$PATH:$HOME/.local/bin:$ORACLE_HOME/bin export PATH |
Oracle 19c Prerequisites Packages
yum install -y oracle-database-preinstall-19c
Download Oracle 19c Software
Note: Use Google Chrome as your browser for this exercise.
# | Description | Command / Details / Screenshots |
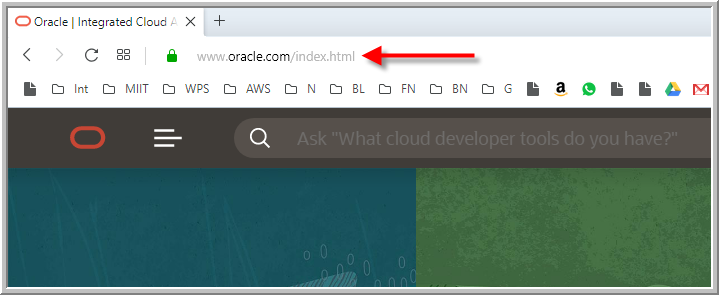
1.5 | Login at Oracle site. If you do not have login, Sign up for a free account. | Login: https://www.oracle.com/in/database/technologies/oracle19c-linux-downloads.html
Signup @ https://profile.oracle.com/myprofile/account/create-account.jspx? |
1.6 | Click on
| |
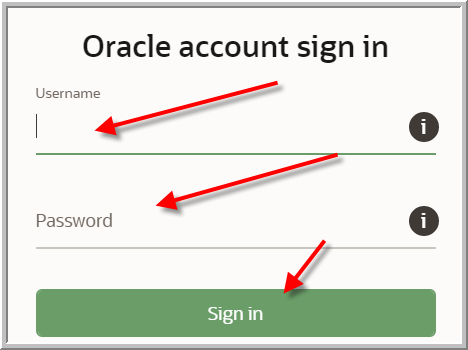
1.7 | Provide your username (your email address) and password that you used to sign up. Click Sign in. |
|
1.8 | Go to download section of databases Scroll down to section 19.3 – Enterprise Edition (also includes Standard Edition 2) Linux x86-64 and click on See all
| |
1.9 | Click on LINUX.X64_193000_db_home.zip
You may be prompted to accept the license
| |
1.10 | At this point, the download should start. If you are using chrome, then you can see this at the bottom of the screen.
| |
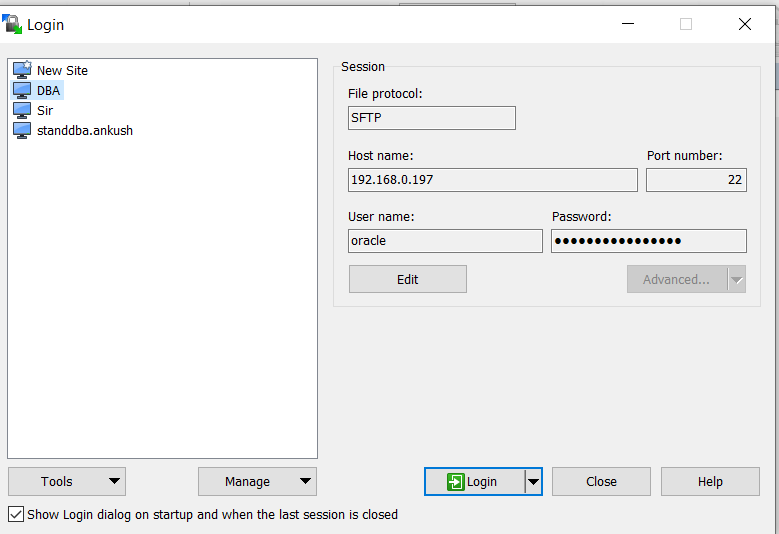
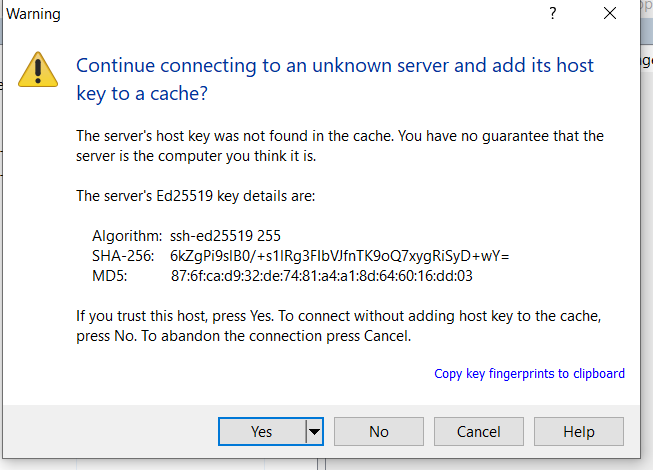
1.11 | (Winscp) winSCP the oracle 19c database software from your windows machine to linux machine ——-Login to the server with your hostname and user credentials
Click Login
Click yes Drag and drop the 19c software to our staging directory /data/staging/19C
———Linux file transferred to the staging Directory | |
1.12 | Verify zipfile is transferred to the staging directory | cd /u99/software/12c/DB ls -ltr
|
1.13 | Before unzip create ORACLE_HOME directory Unzip the software into newly created ORACLE_HOME By -d flag | mkdir -p /data/app/oracle/product/19C/dbhome_3
ls -ld /data/app/oracle/product/19C/dbhome_3 Hi unzip LINUX.X64_193000_db_home.zip -d /data/app/oracle/product/19C/dbhome_3
Note: If you are getting unzip is not found, run “yum install unzip -y” as root in a new session and come back to this session and execute the command again.. |
1.14 | Once unzip is completed, you should see screen like following → |
|
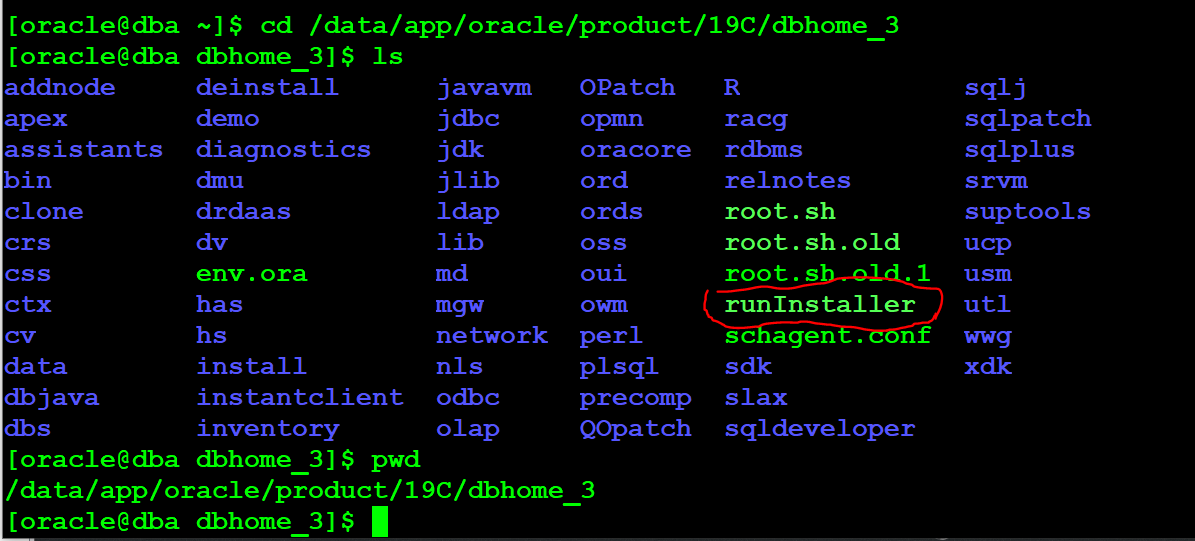
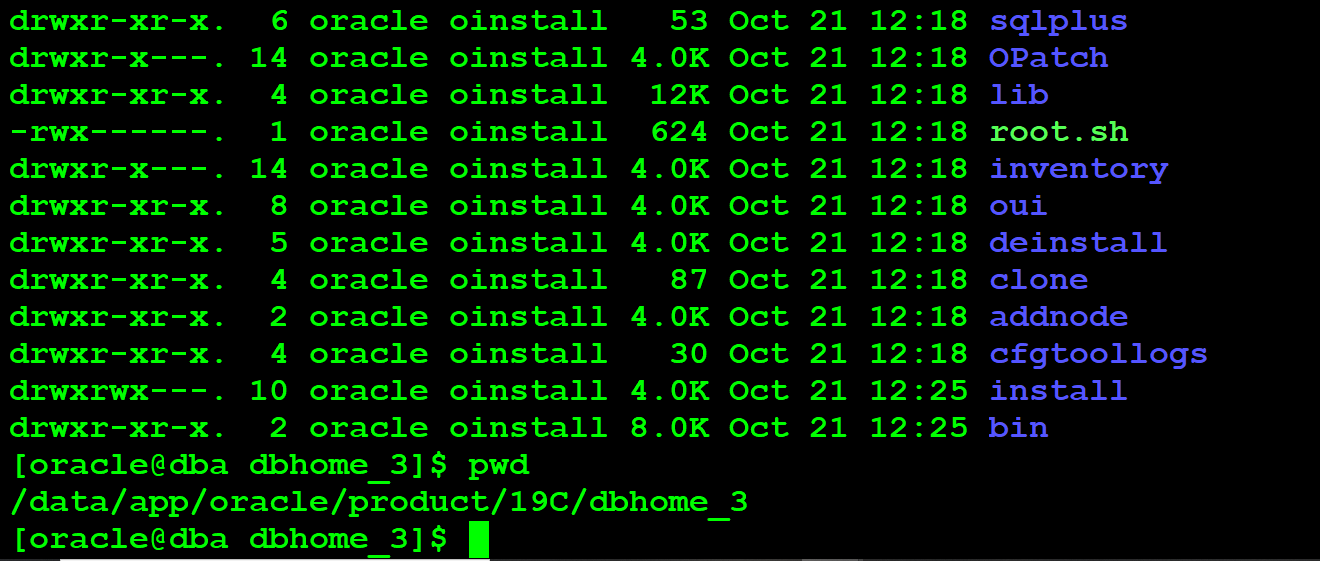
1.15 | runInstaller (program to install oracle) resides. | cd /data/app/oracle/product/19C/dbhome_3
|


——————————————————————————–END OF SECTION ———————————————————————————–
1.16 | Before unzip create ORACLE_HOME directory Unzip the software into newly created ORACLE_HOME By -d flag | mkdir -p /data/app/oracle/product/19C/dbhome_3
ls -ld /data/app/oracle/product/19C/dbhome_3
unzip LINUX.X64_193000_db_home.zip -d /data/app/oracle/product/19C/dbhome_3
Note: If you are getting unzip is not found, run “yum install unzip -y” as root in a new session and come back to this session and execute the command again.. |
——————————————————–END ————————————————-
SECTION-2
Install Oracle 19c Database software
# | Description | Command / Details / Screenshots |
2.1 | Start Xming on laptop if not already started |
|
2.2 | Login to server as oracle with X-11 enabled. | whoami
|
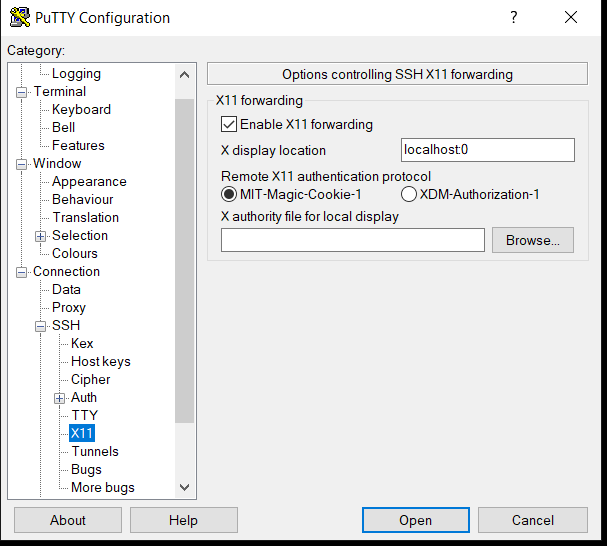
2.3 | enable X 11 forwarding on putty Set x Display location to the following localhost:0 |
|
2.4 | Change directory to ORACLE_HOME | cd /data/aoo.oracle/product/19C/dbhome_3 pwd ls -ltrh
|
2.5 | Execute runInstaller to begin Oracle 19c installation | ./runInstaller Press y when prompted. |
2.6 | Let’s wait for few seconds… |
|
2.7 | step 1 of 9
|
|
2.8 | Step 2 of 9
|
|
2.9 | Step 3 of 9
|
|
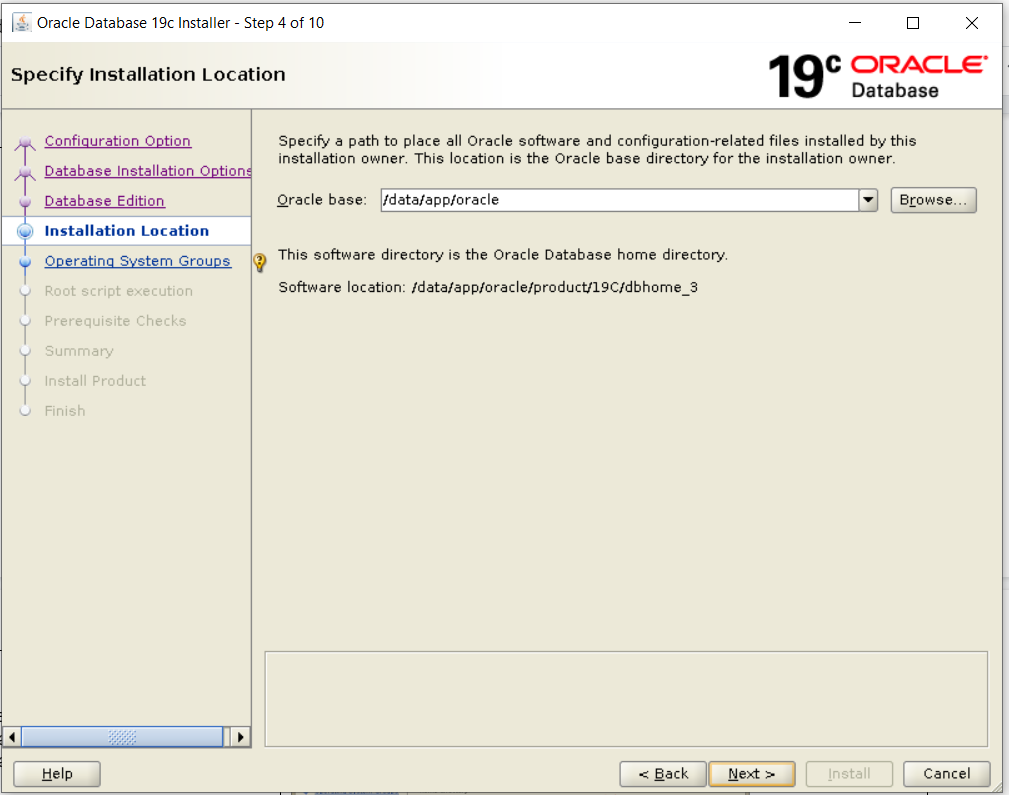
2.10 | Step 4 of 10
|
|
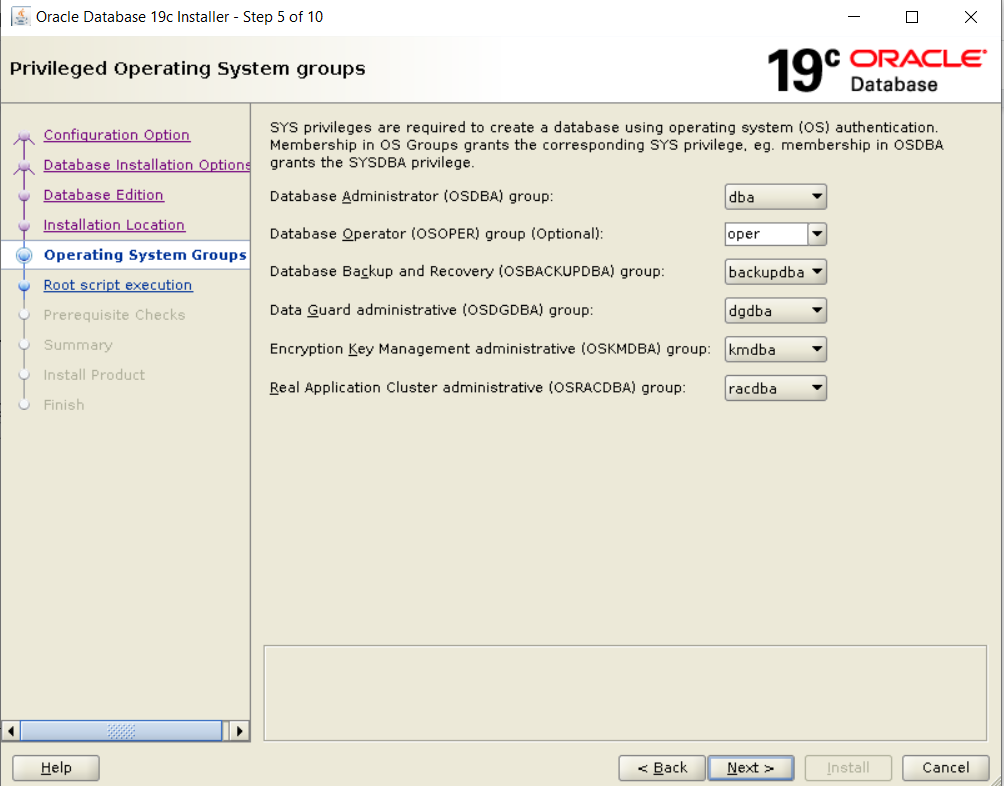
2.11 | Step 5 of 10
|
|
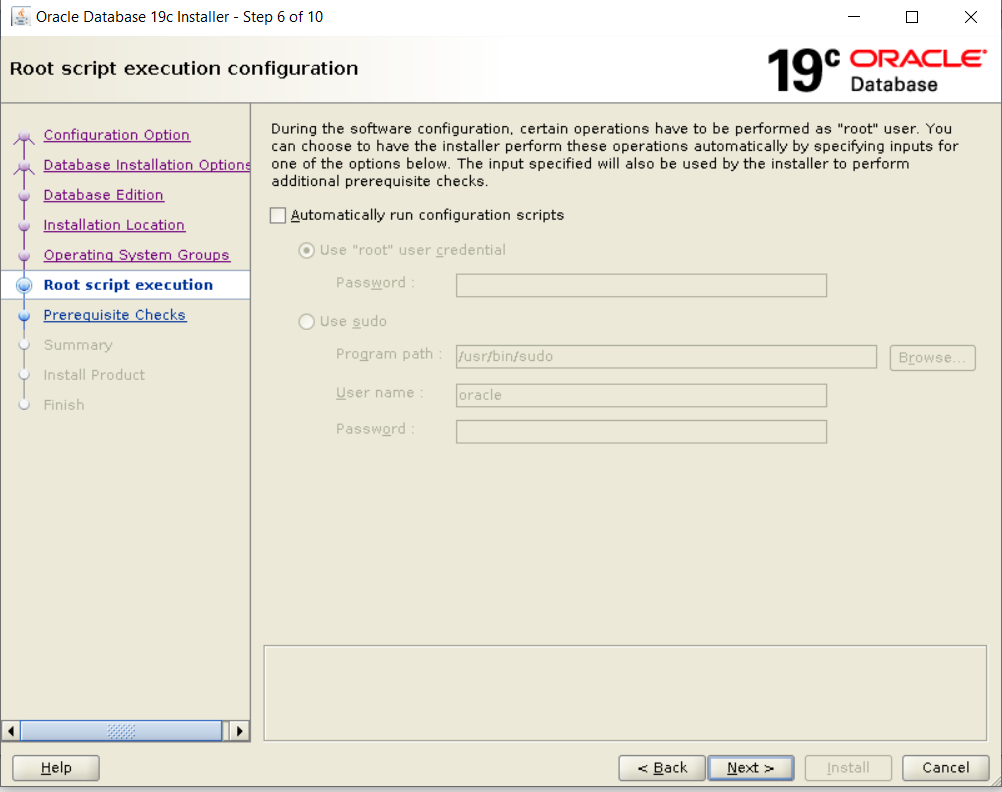
Step 6 of 10 Root script execution configuration We are going to run scripts manually so click Next….. |
| |
2.12 | Step 8 of 10
|
Similarly, if there are any packages that you have missed earlier and OUI has detected it, install the package as root with “yum install -y” command. Be sure you login as root. Otherwise, you will get an error. Once installed, lets try again. And it worked this time. I was able to move forward |
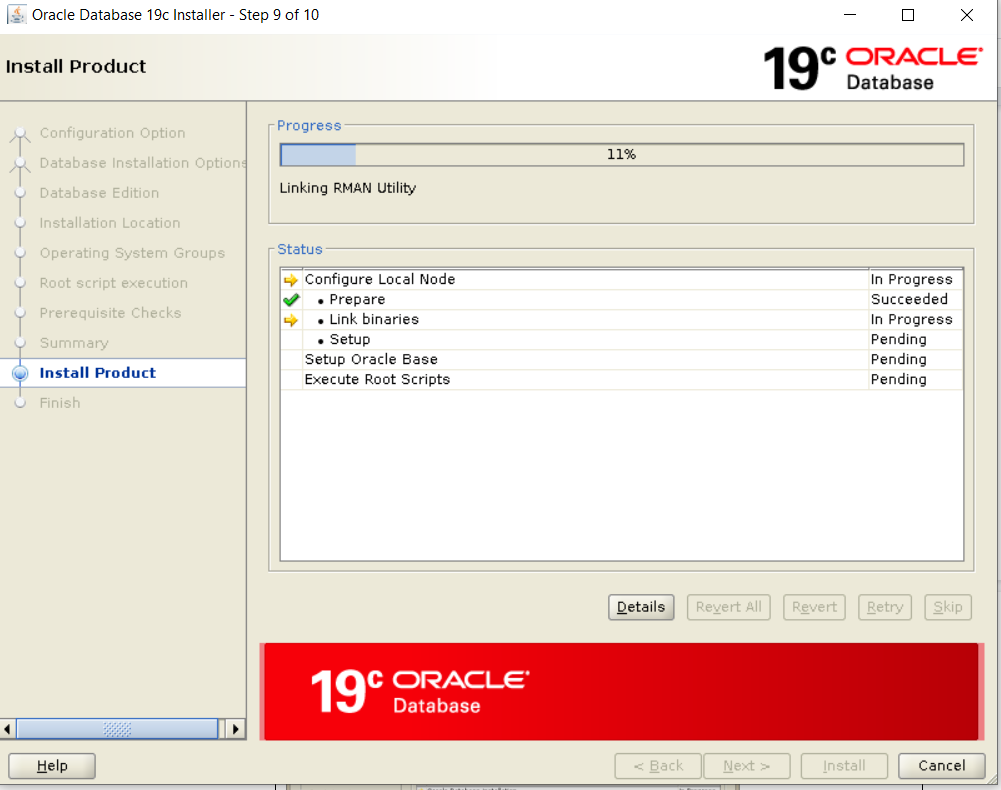
2.13 | Step 9 of 10
|
|
2.14 | Step 9 of 10
|
|
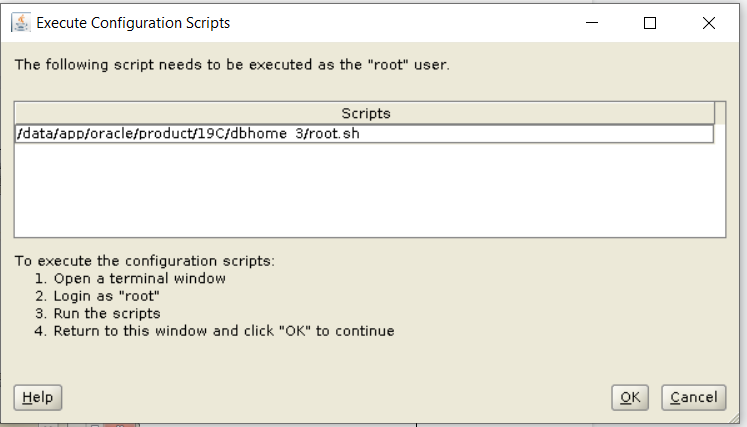
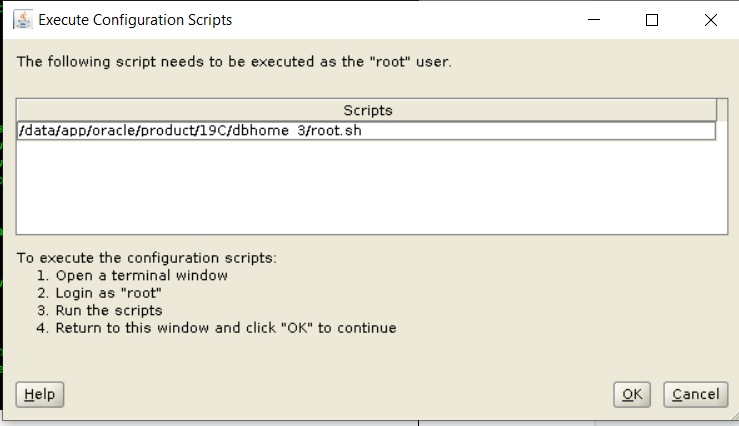
2.15 | Once the installation is done, OUI will ask you run the following scripts as root.
To run as root,
a./data/app/oracle/product/19C/dbhome_3/root.sh
| |
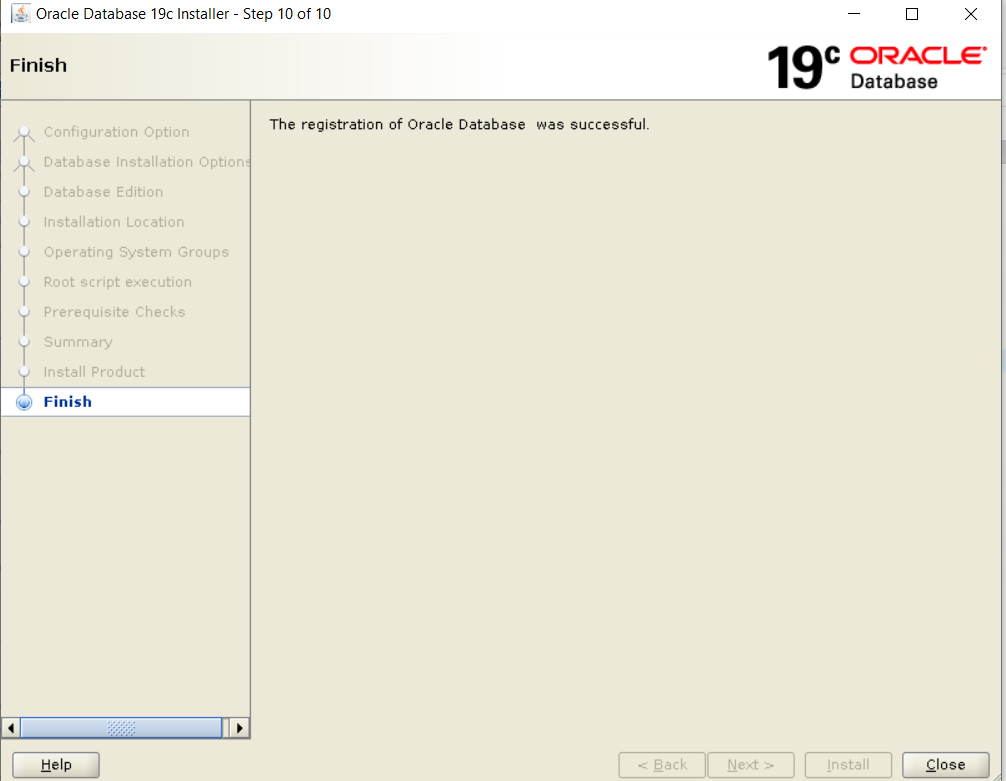
Step 10 of 10 Click [ok] Next Click{close} |
| |
2.16 | Oracle 19c software installation done and logs are saved |
|
| ||


——————————————————————————– END ——————————————————————————————————
SECTION -3
Create Database using dbca
# | Description | Command / Details / Screenshots |
3.1 | Login to Server as oracle (MAC Users: Make sure to do this in XQuartz) |
|
3.2 | Type “dbca” to start Database Configuration Assistance |
|
3.3 | Step 1 of 15 You will see the following window for few seconds before the Oracle Universal Installer starts.
|
|
3.4 | Step 2 of 15
|
|
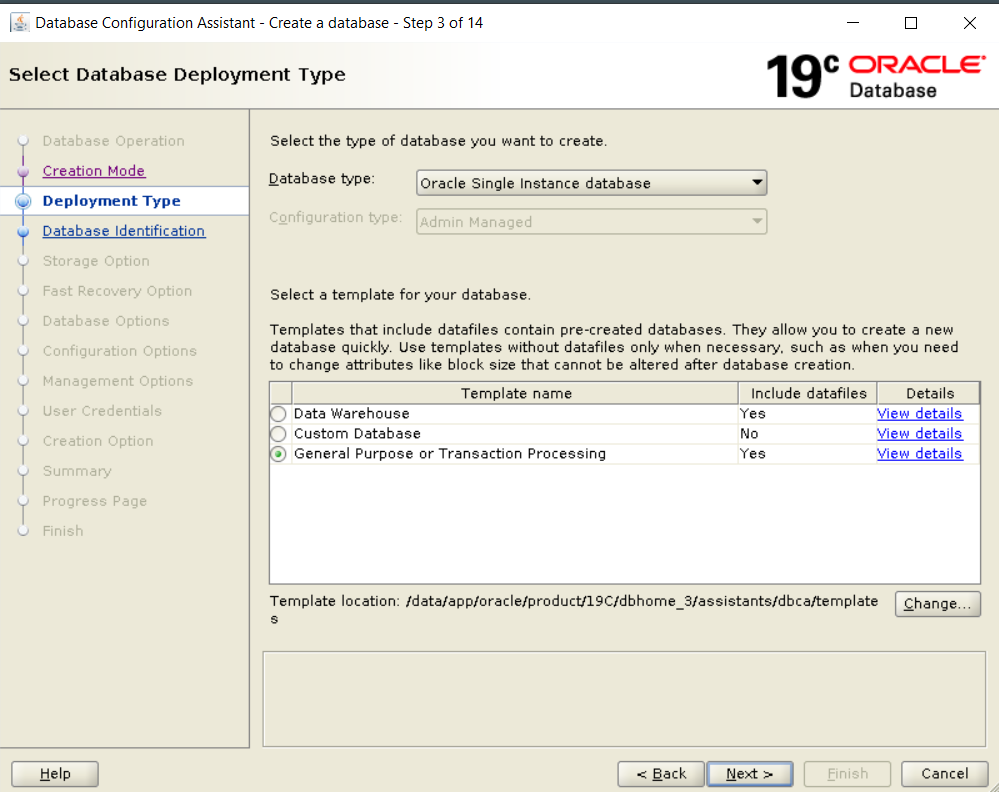
3.5 | Step 3 of 15
|
|
3.6 | Step 4 of 15
|
|
3.7 | Step 5 of 15
|
|
3.8 | keep Select Fast Recovery Option same as Screenshot
|
|
3.9 | Step 7 of 15
|
|
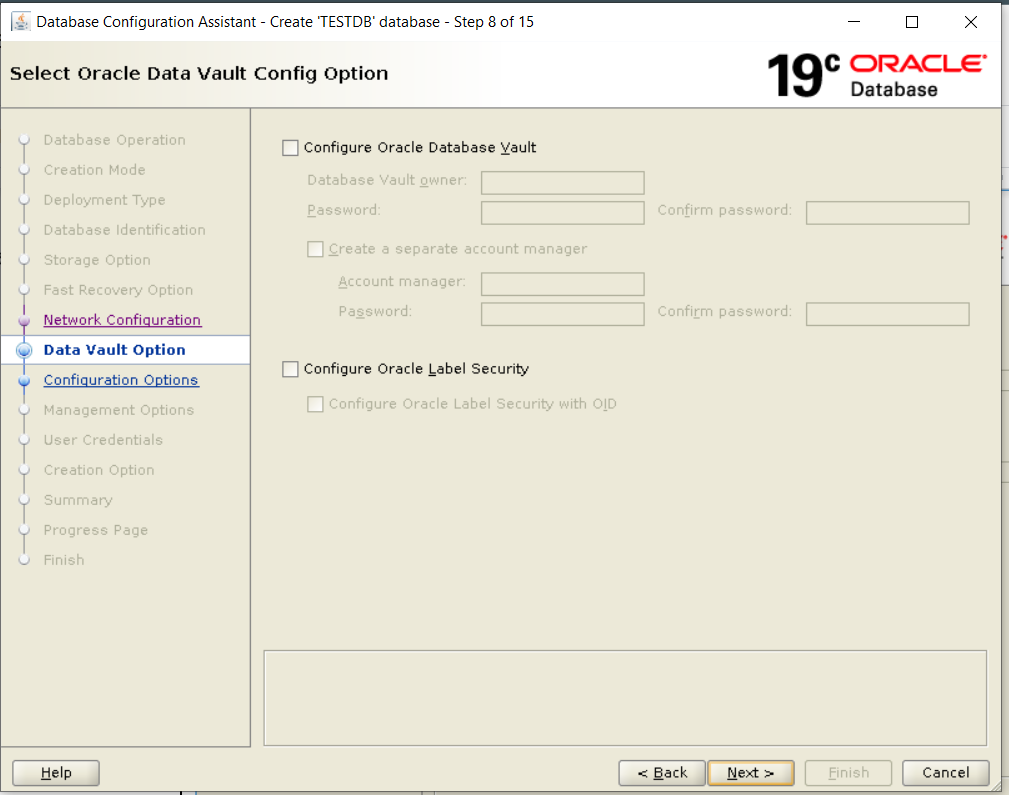
3.10 | Step 8 of 15
|
|
3.11 | Step 9 of 15
|
|
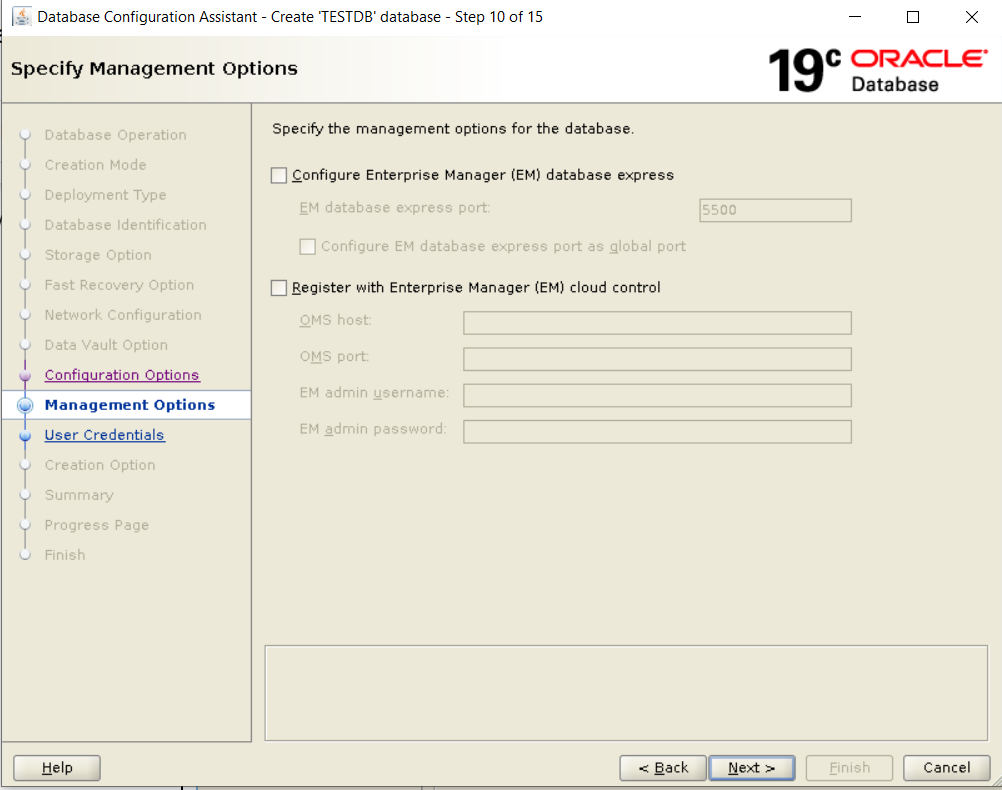
3.12 | Step 10 of 15
|
|
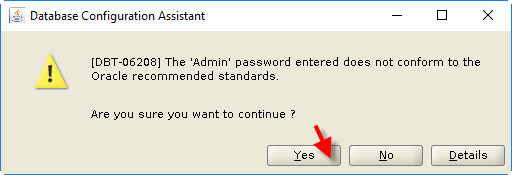
3.13 | Step 11 of 15
|
|
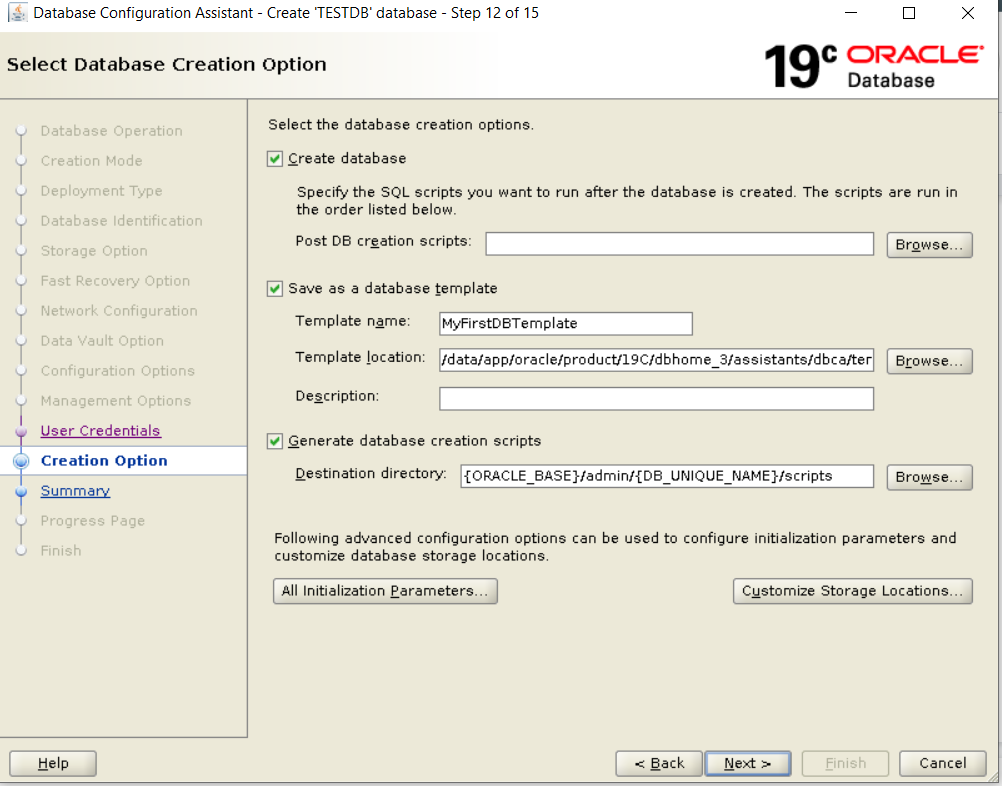
3.14 | Step 12 of 15
” |
|
3.15 | Step 13 of 15
|
|
3.16 | Step 14 of 15
|
|
3.17 | Step 15 of 15
|
|
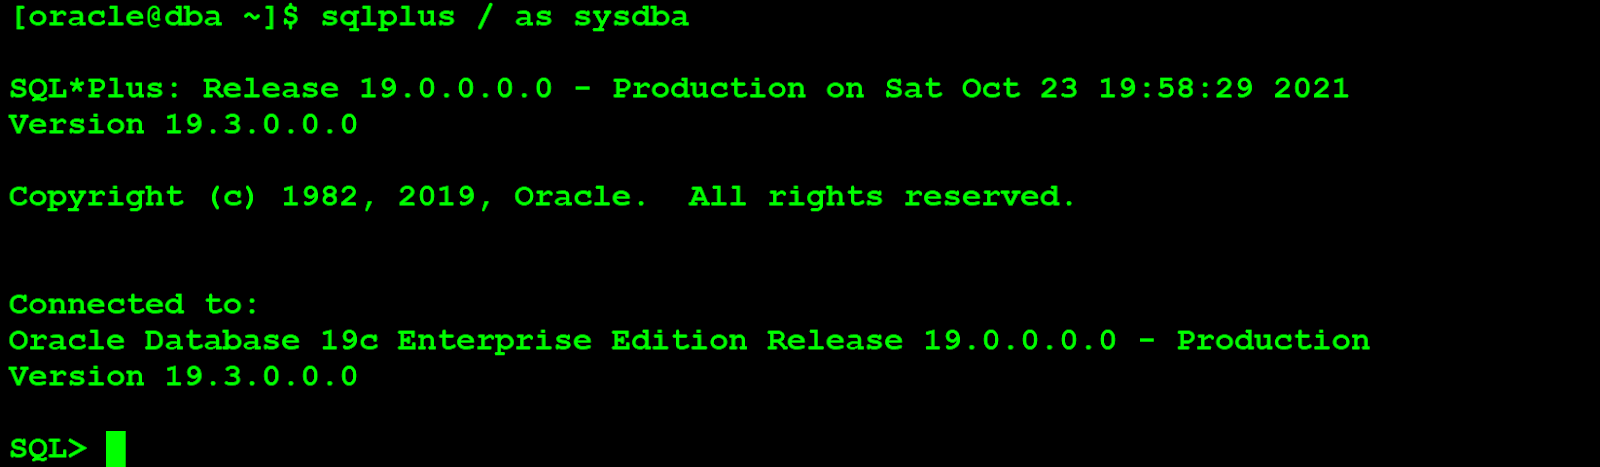
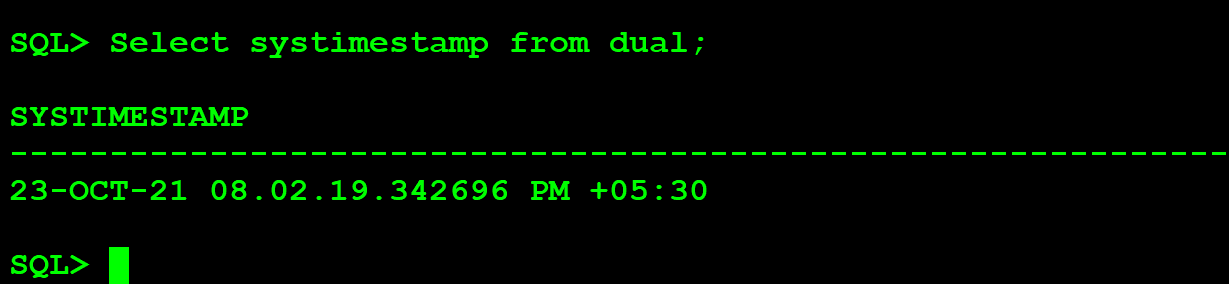
3.18 | Let’s verify if the instance is all good to be tested.
| |


——————————————————————————————THE END——————————————————————————————–
Hope it Helps
Ankush Thavali
